Harvesting Pine Resin for Bee’s Wax Wraps

Few things are more satisfying than being able to make most of the staple items in a household that not only are costly but, also not very eco friendly. We have made the switch to a (mostly) plastic free home. I've recently started doing my research on the negative impacts of commercial cleaners and how they adversely effect our health. I have been able to make my own cleaners and soap alternatives and am already feeling and experiencing the benefits. As I slowly go through my home and life swapping out wasteful and unhealthy products for more health and Earth concious ones, I thought why not think about how and what we store our foods in!
Studies have found that certain chemicals in plastic can leach out of the plastic and into the food and beverages we eat. Some of these chemicals have been linked to health problems such as metabolic disorders (including obesity) and reduced fertility. I have used bee's wax wraps before in the past, but remember them being awfully pricey, so I decided to do what I do best and figure out how to make my own! I found a highly rated recipe and had everything on hand but , "pine resin" which, admittedly I could have purchased on Amazon, however I decided I wanted to harvest my own. I made myself a little "melter" and went to work. Here's how I did it...
Harvesting the Resin-
You will need...
- Two cans (we used beer cans and they worked great)
- Tin Foil
- Drill or Hammer and Nail
- Lighter
- Tin Snips
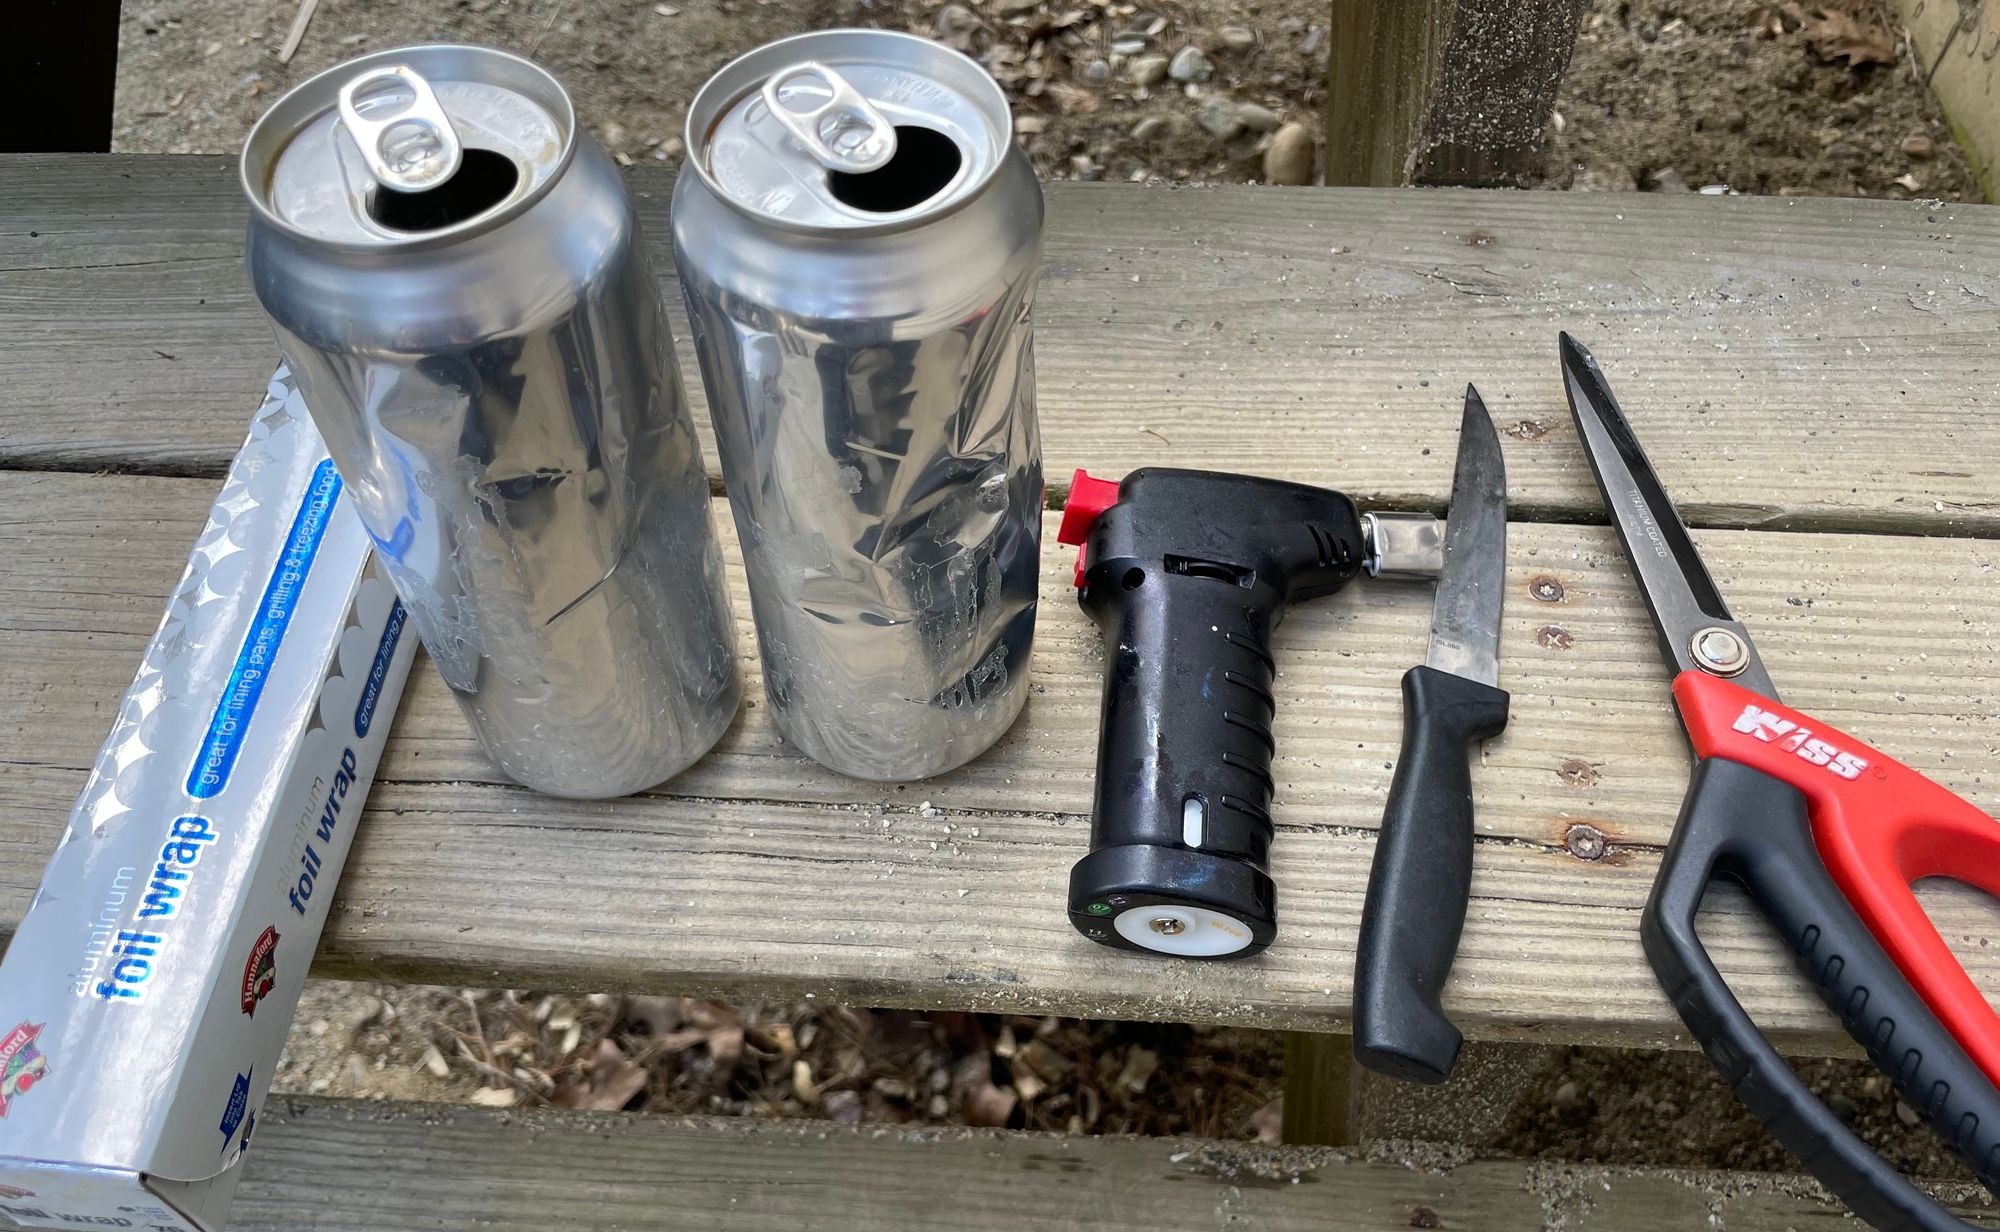
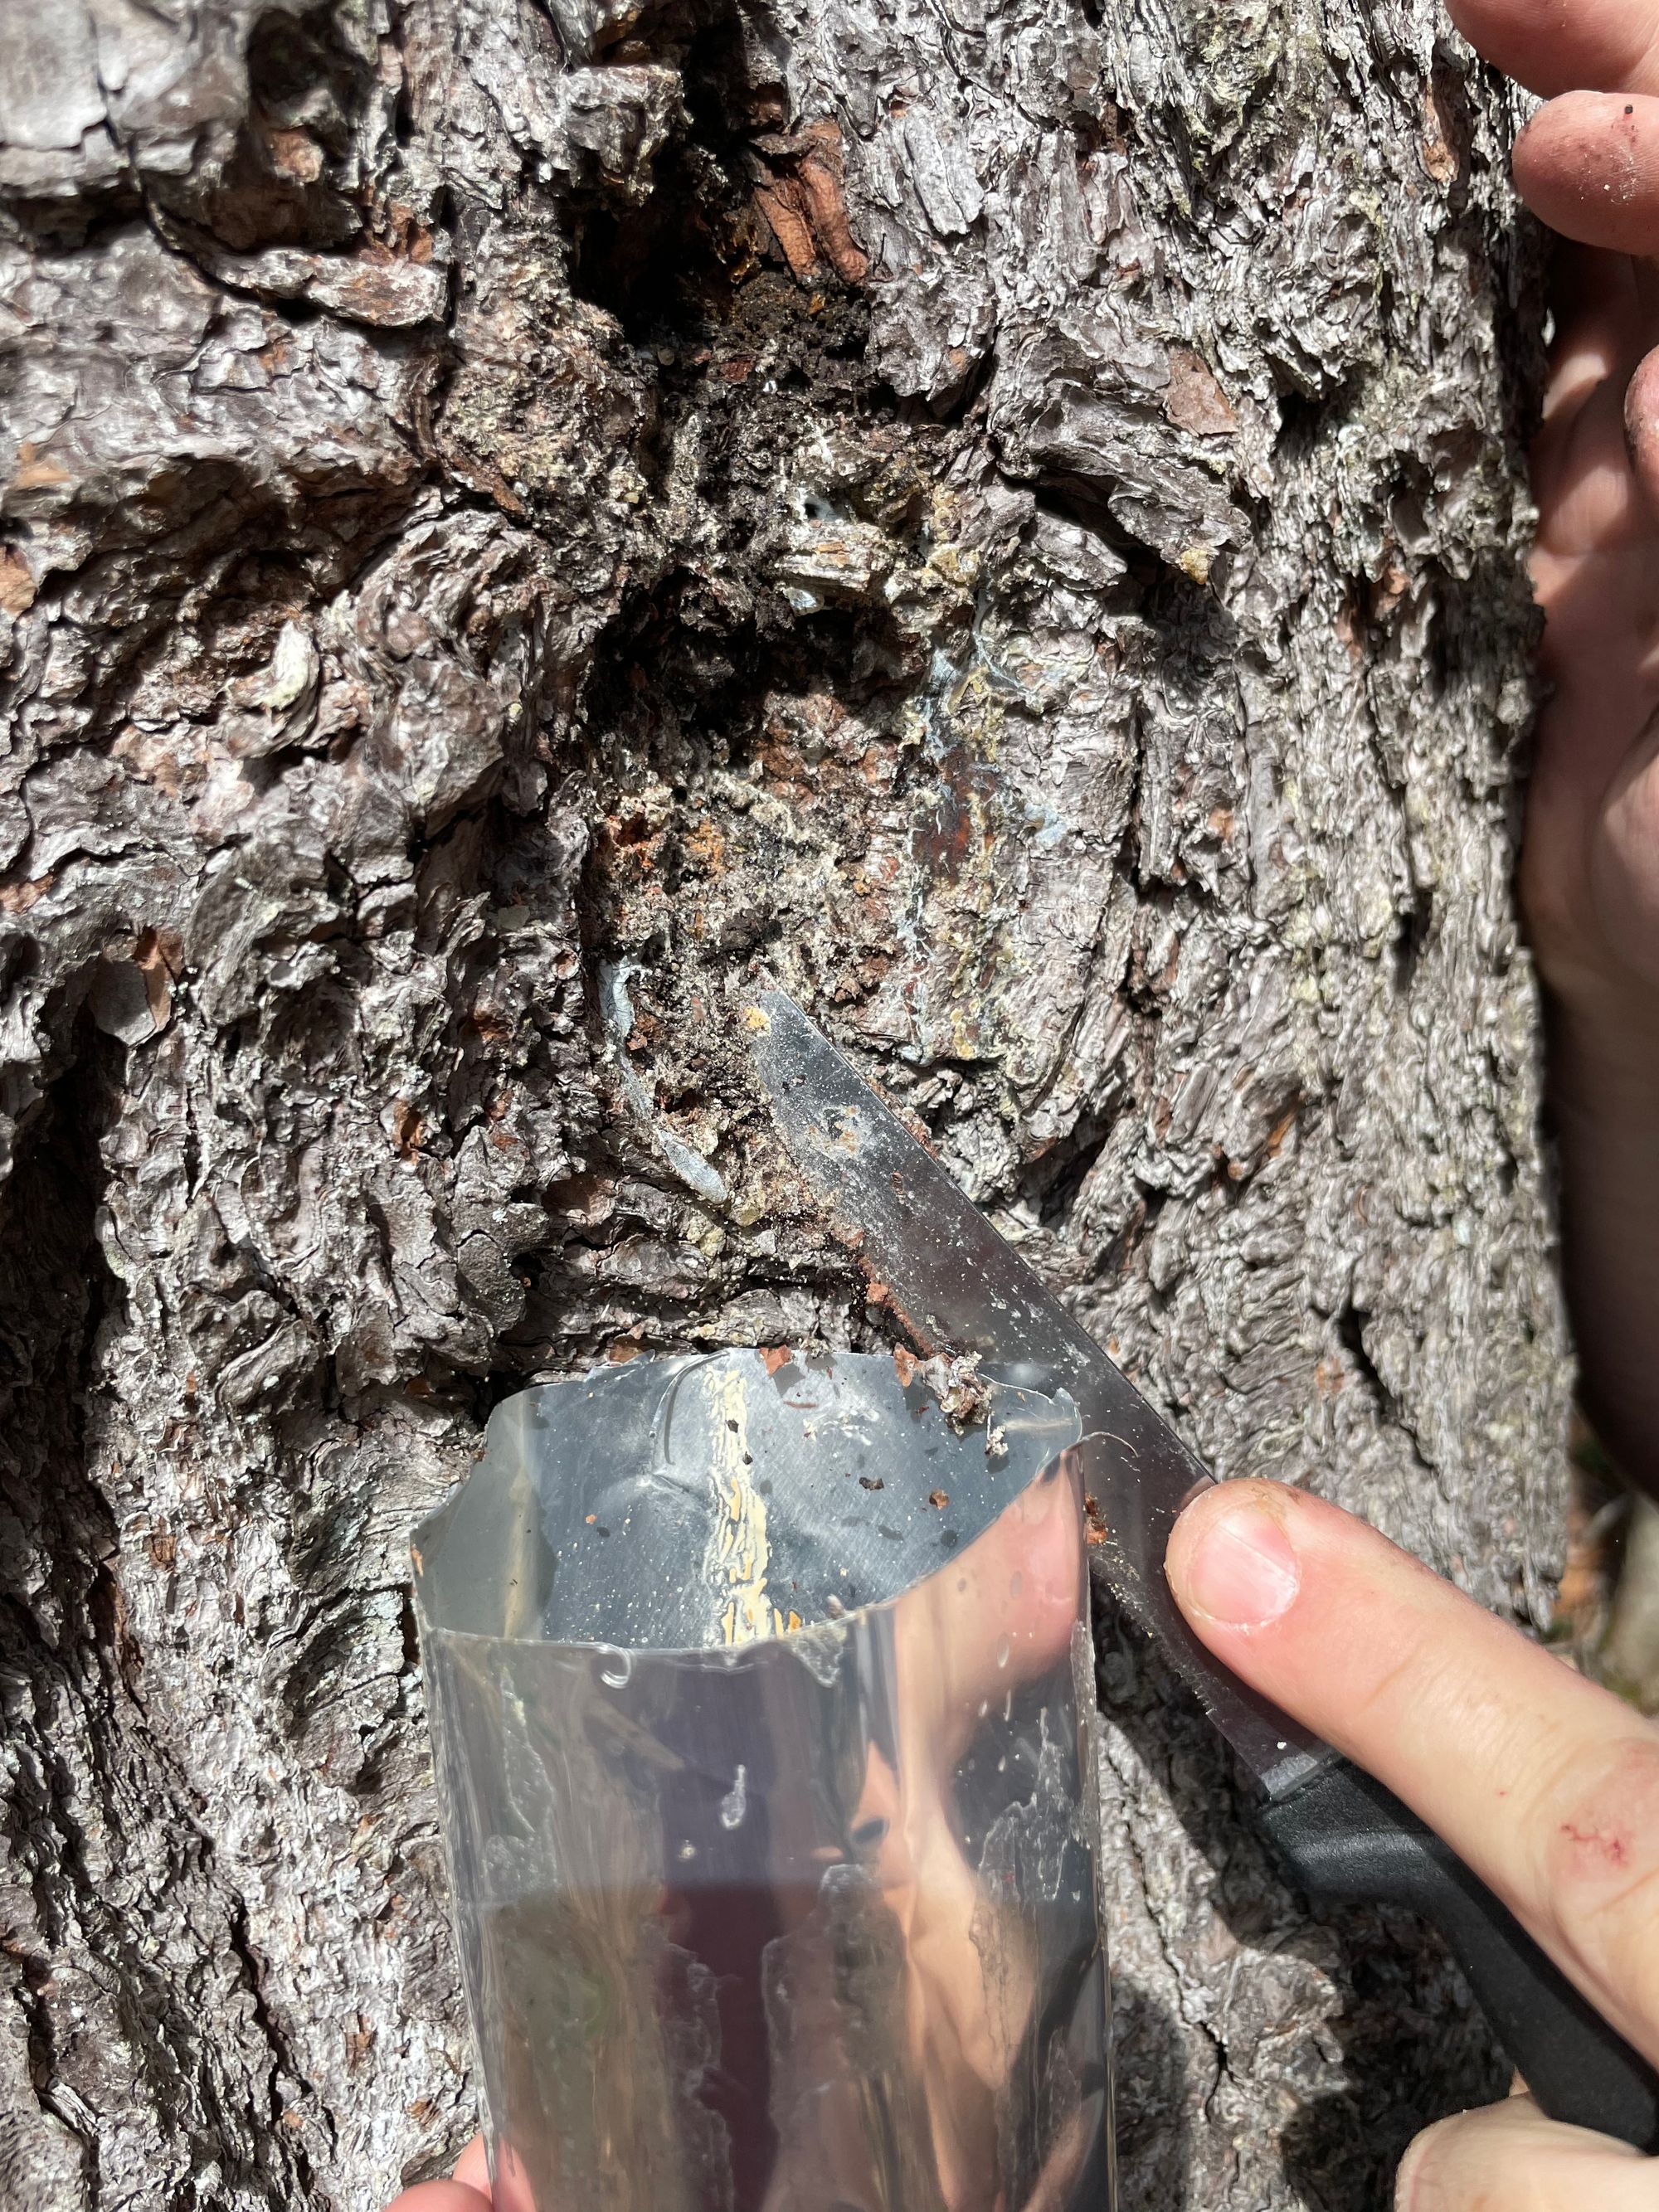
The first thing you'll want to do is cut the top off of can one about 2 inches down and cut the bottom off the second can 2 inches up. Keep the can with the cut off top and the bottom of the can

Next, take the cut off bottom of the can and either drill or poke holes with the hammer and nail
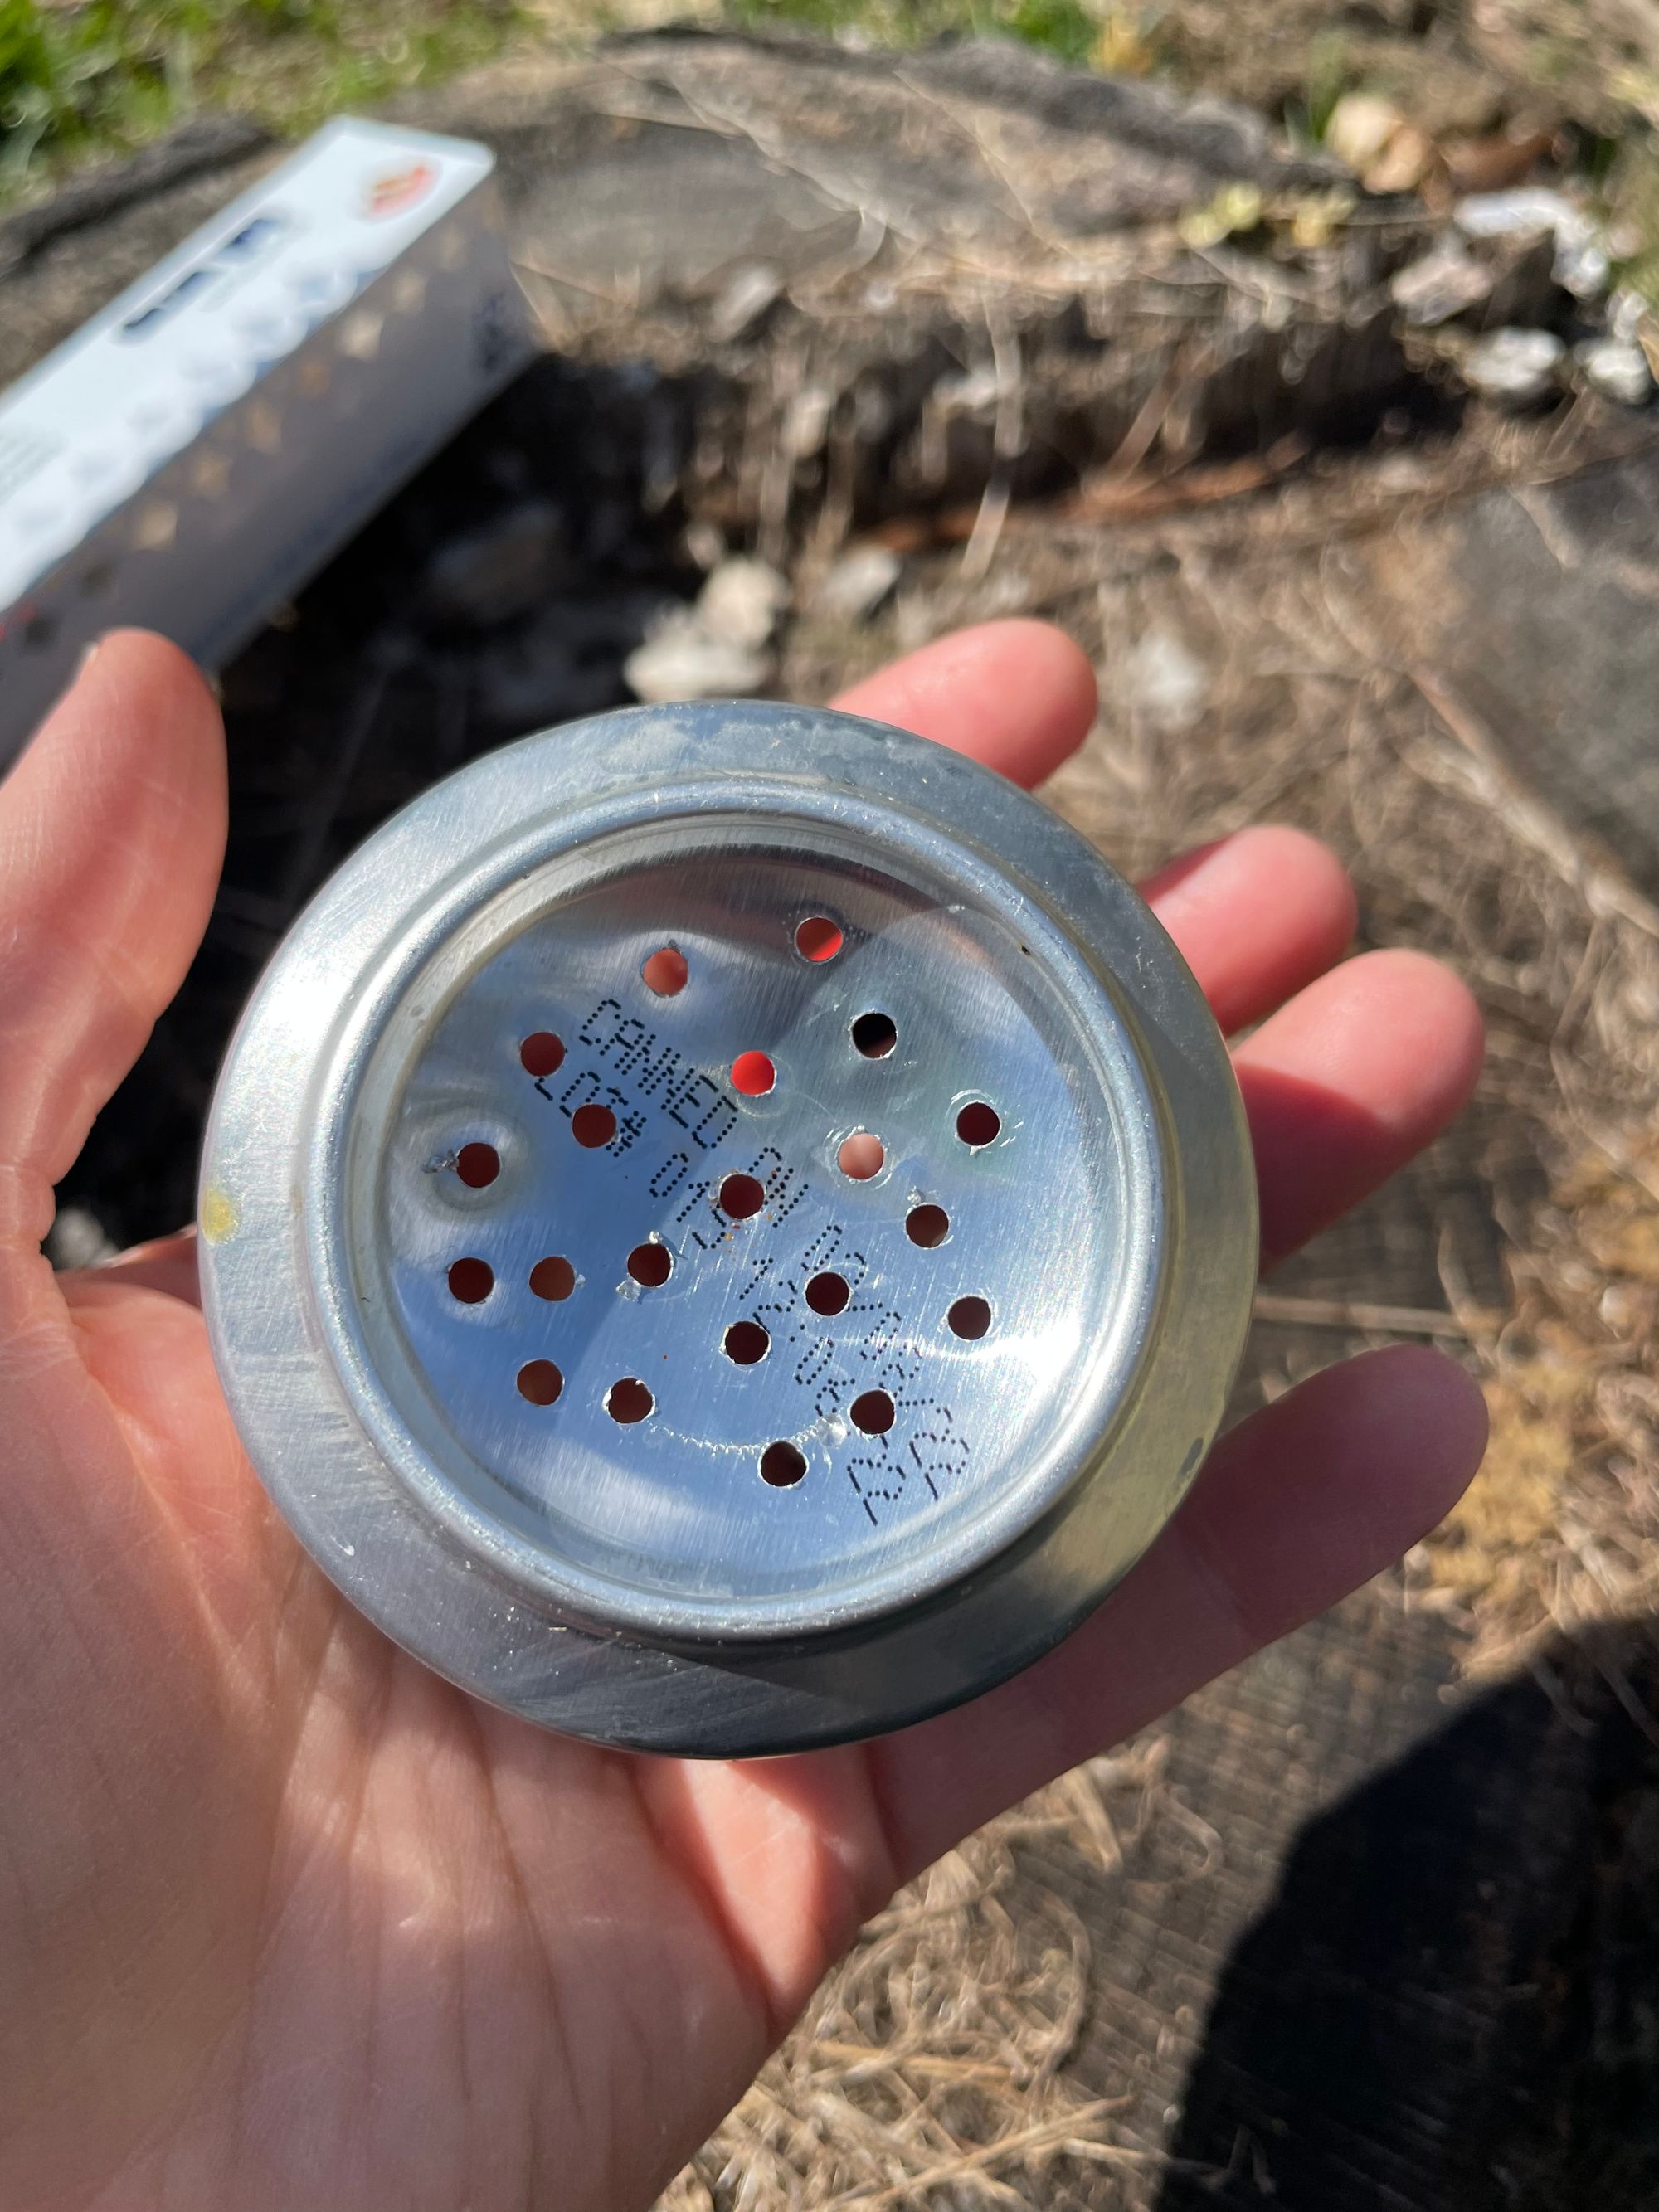
Next you will want to take a sheet of tinfoil and make a small pocket inside the can and put the bottom with holes on top of the can with tinfoil in it. Now you're ready to harvest the resin.
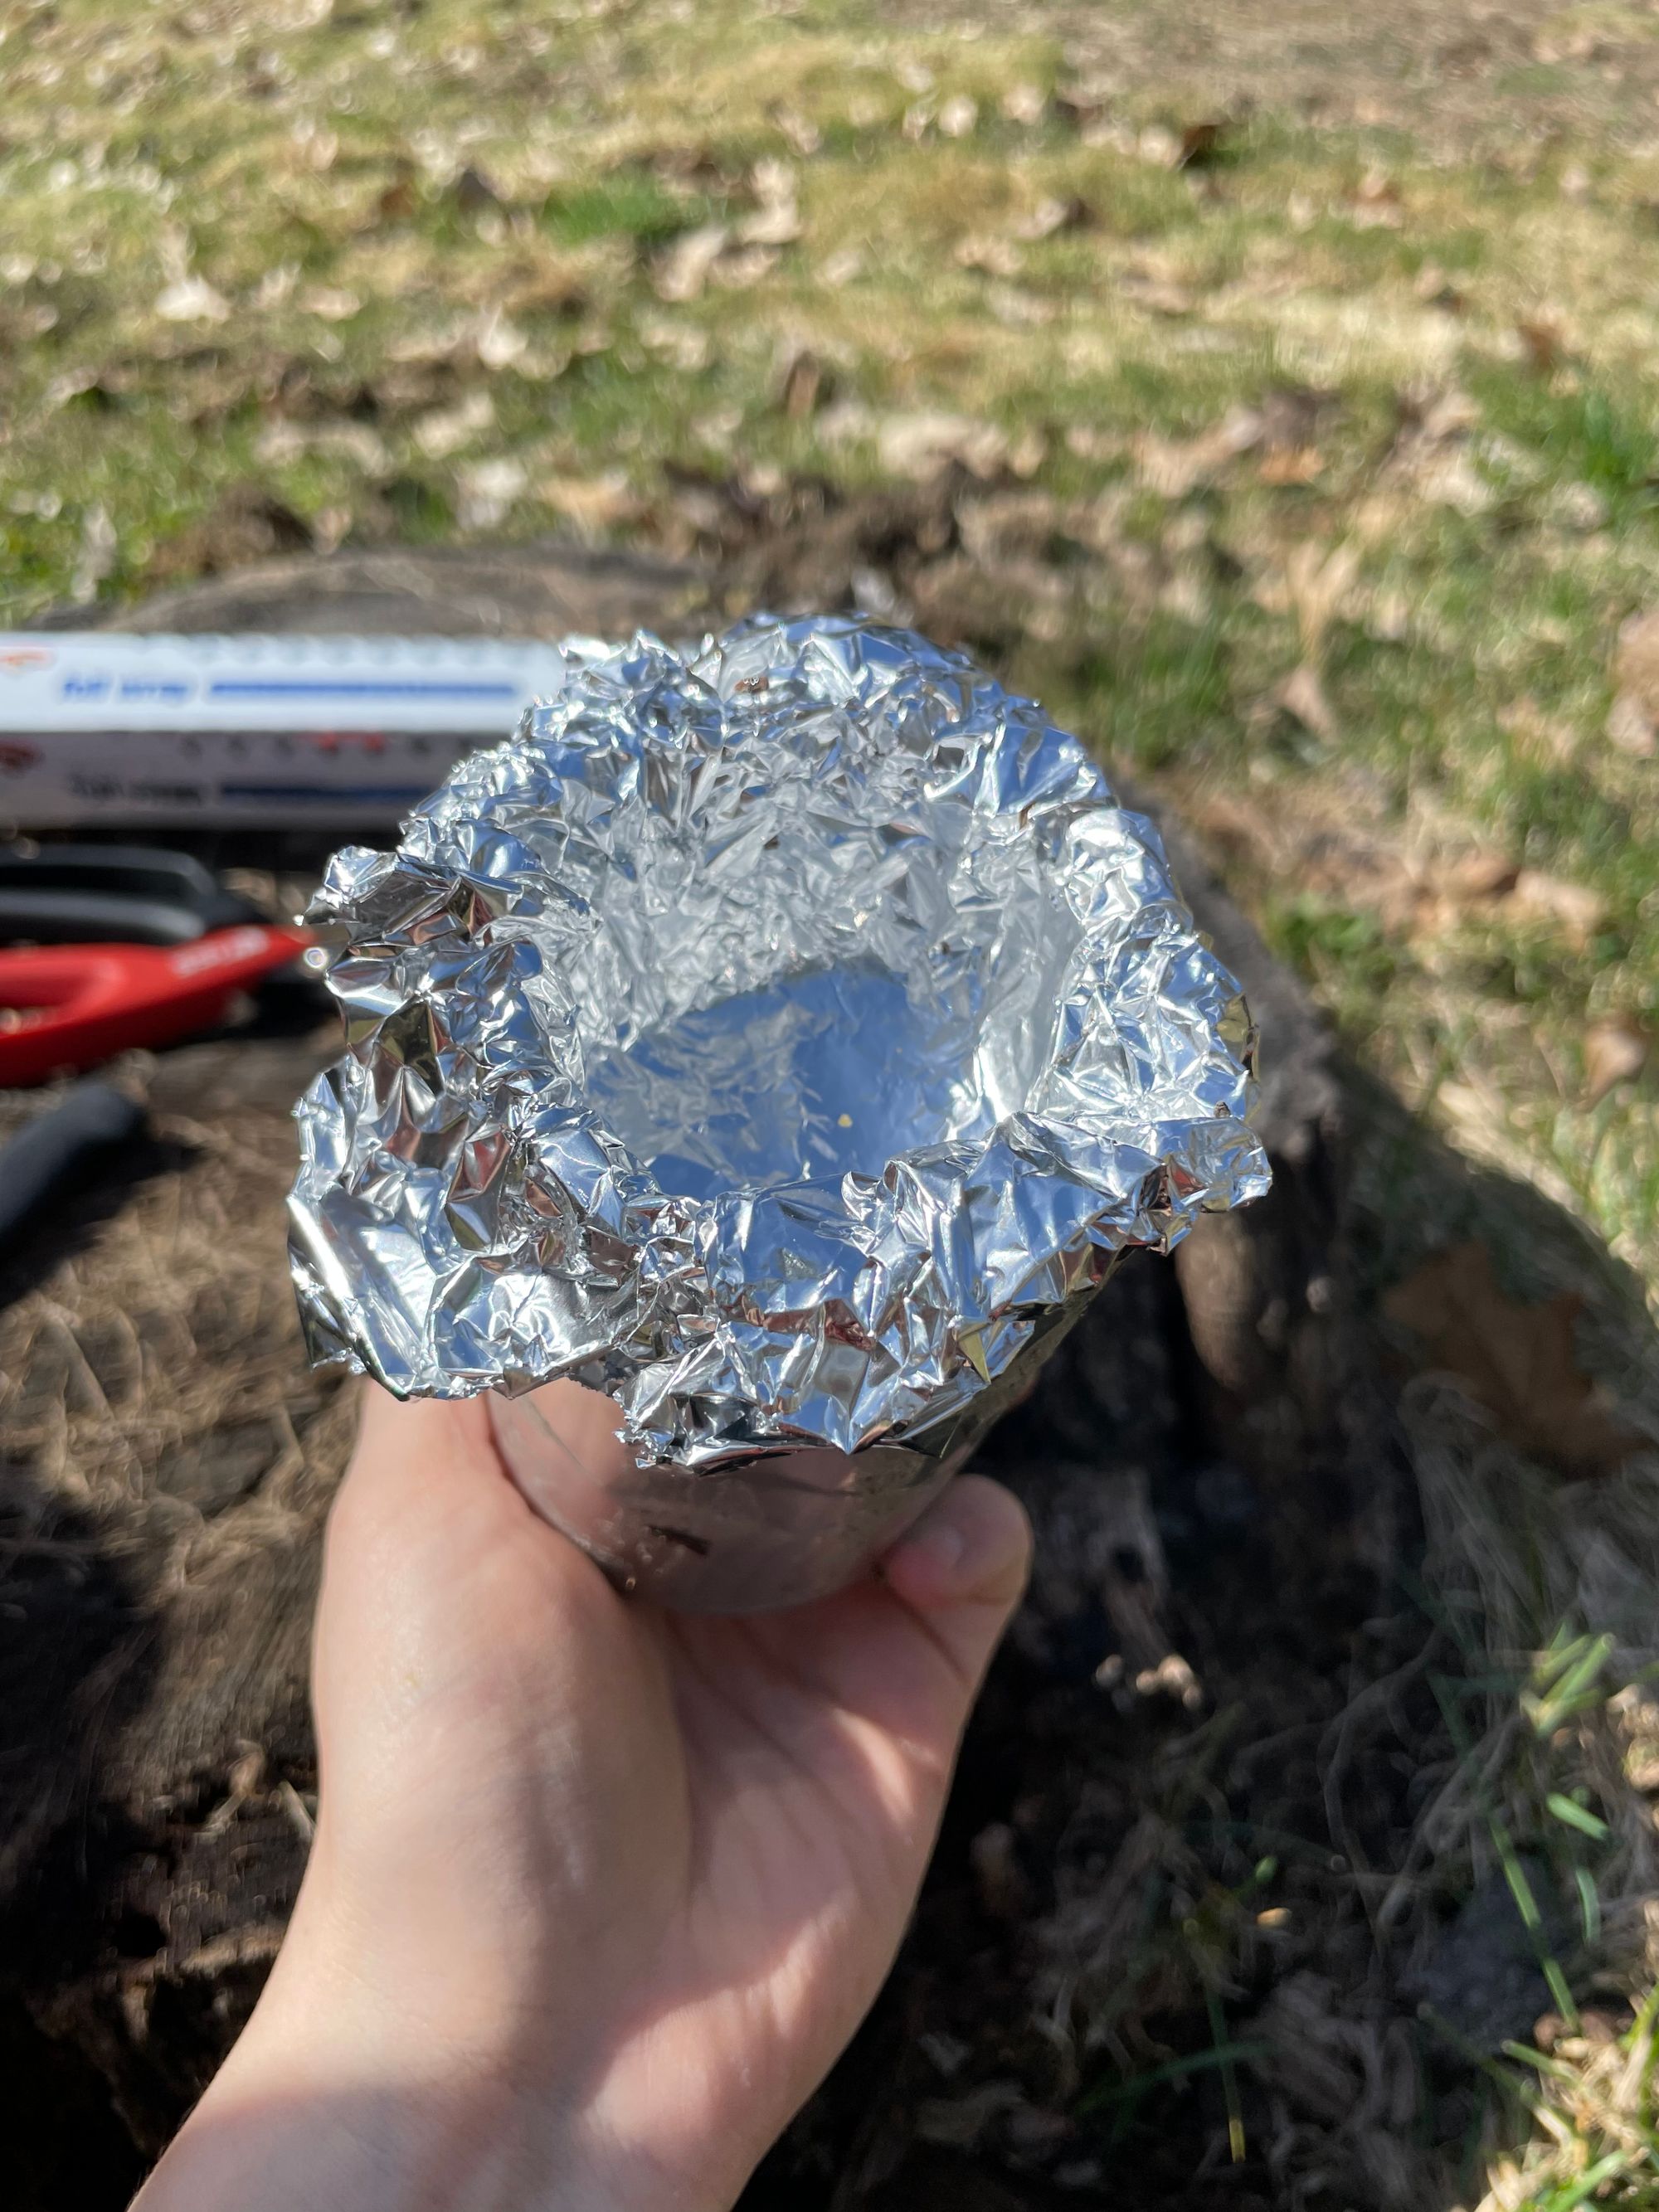
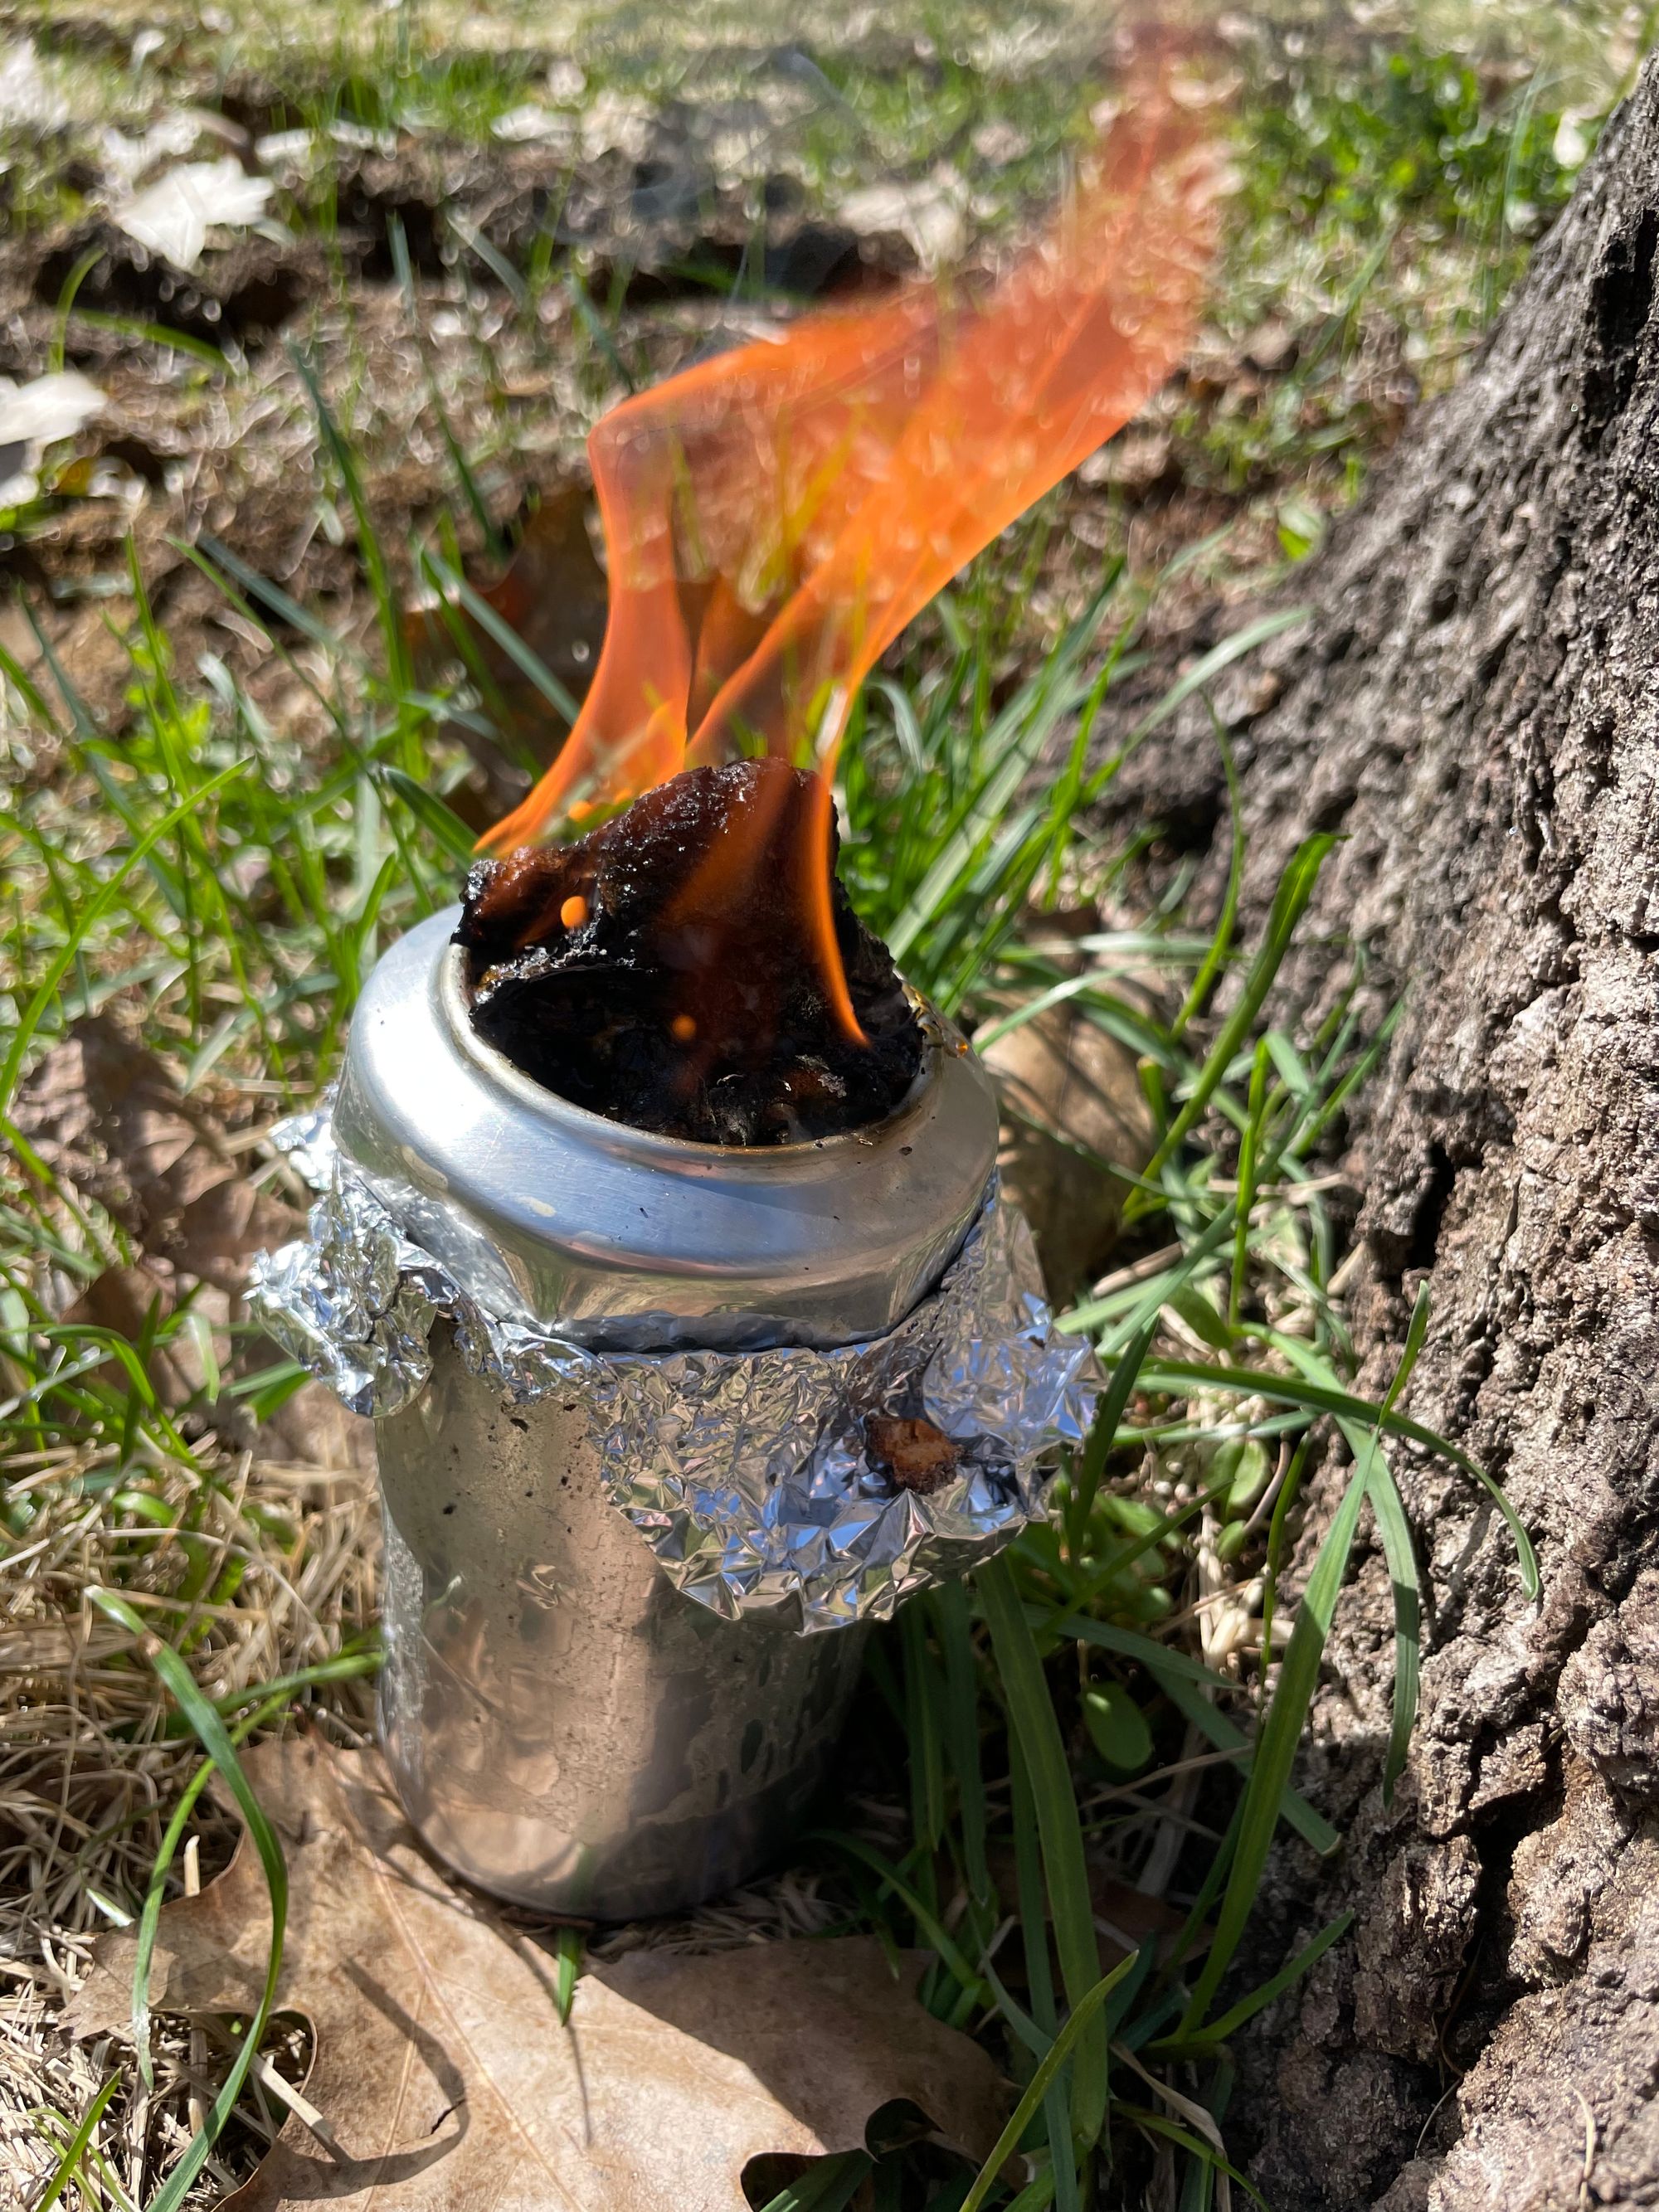
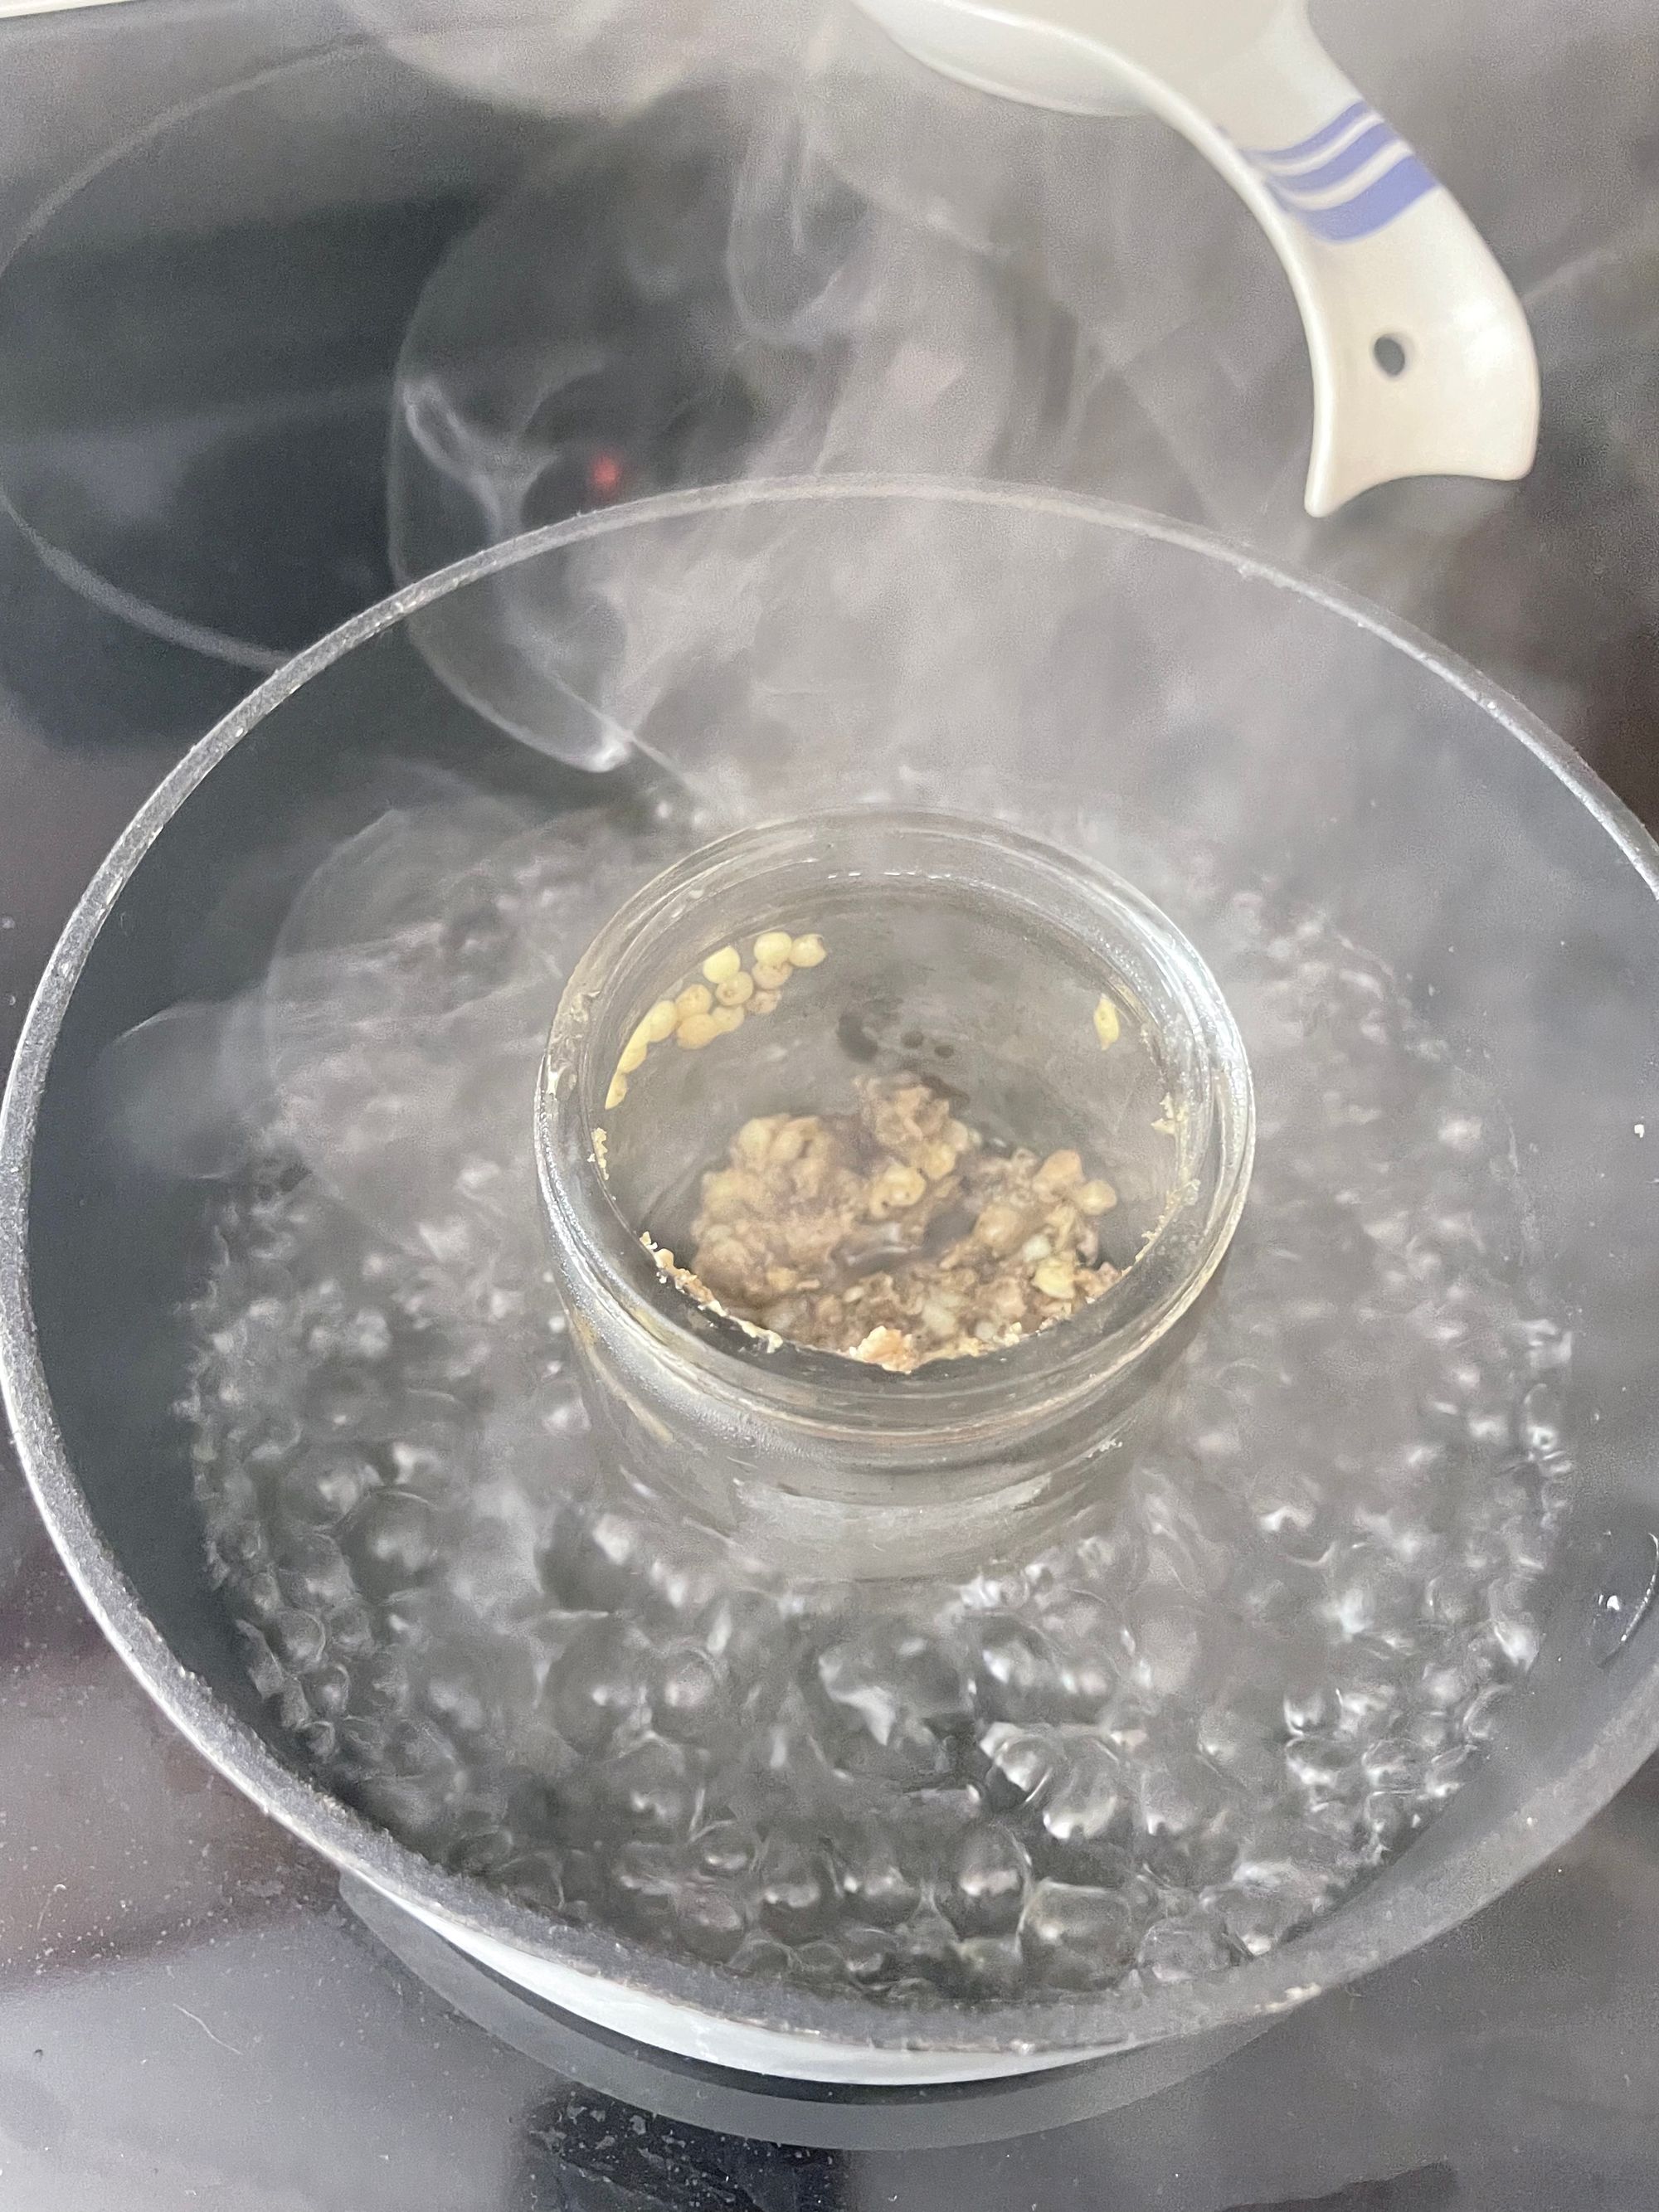
Once you've collected enough solidified sap, place it in the top of the can and light it on fire. As the imperfections burn, the resin will melt down onto the tinfoil leaving you with a dark liquid that solidifies quickly.
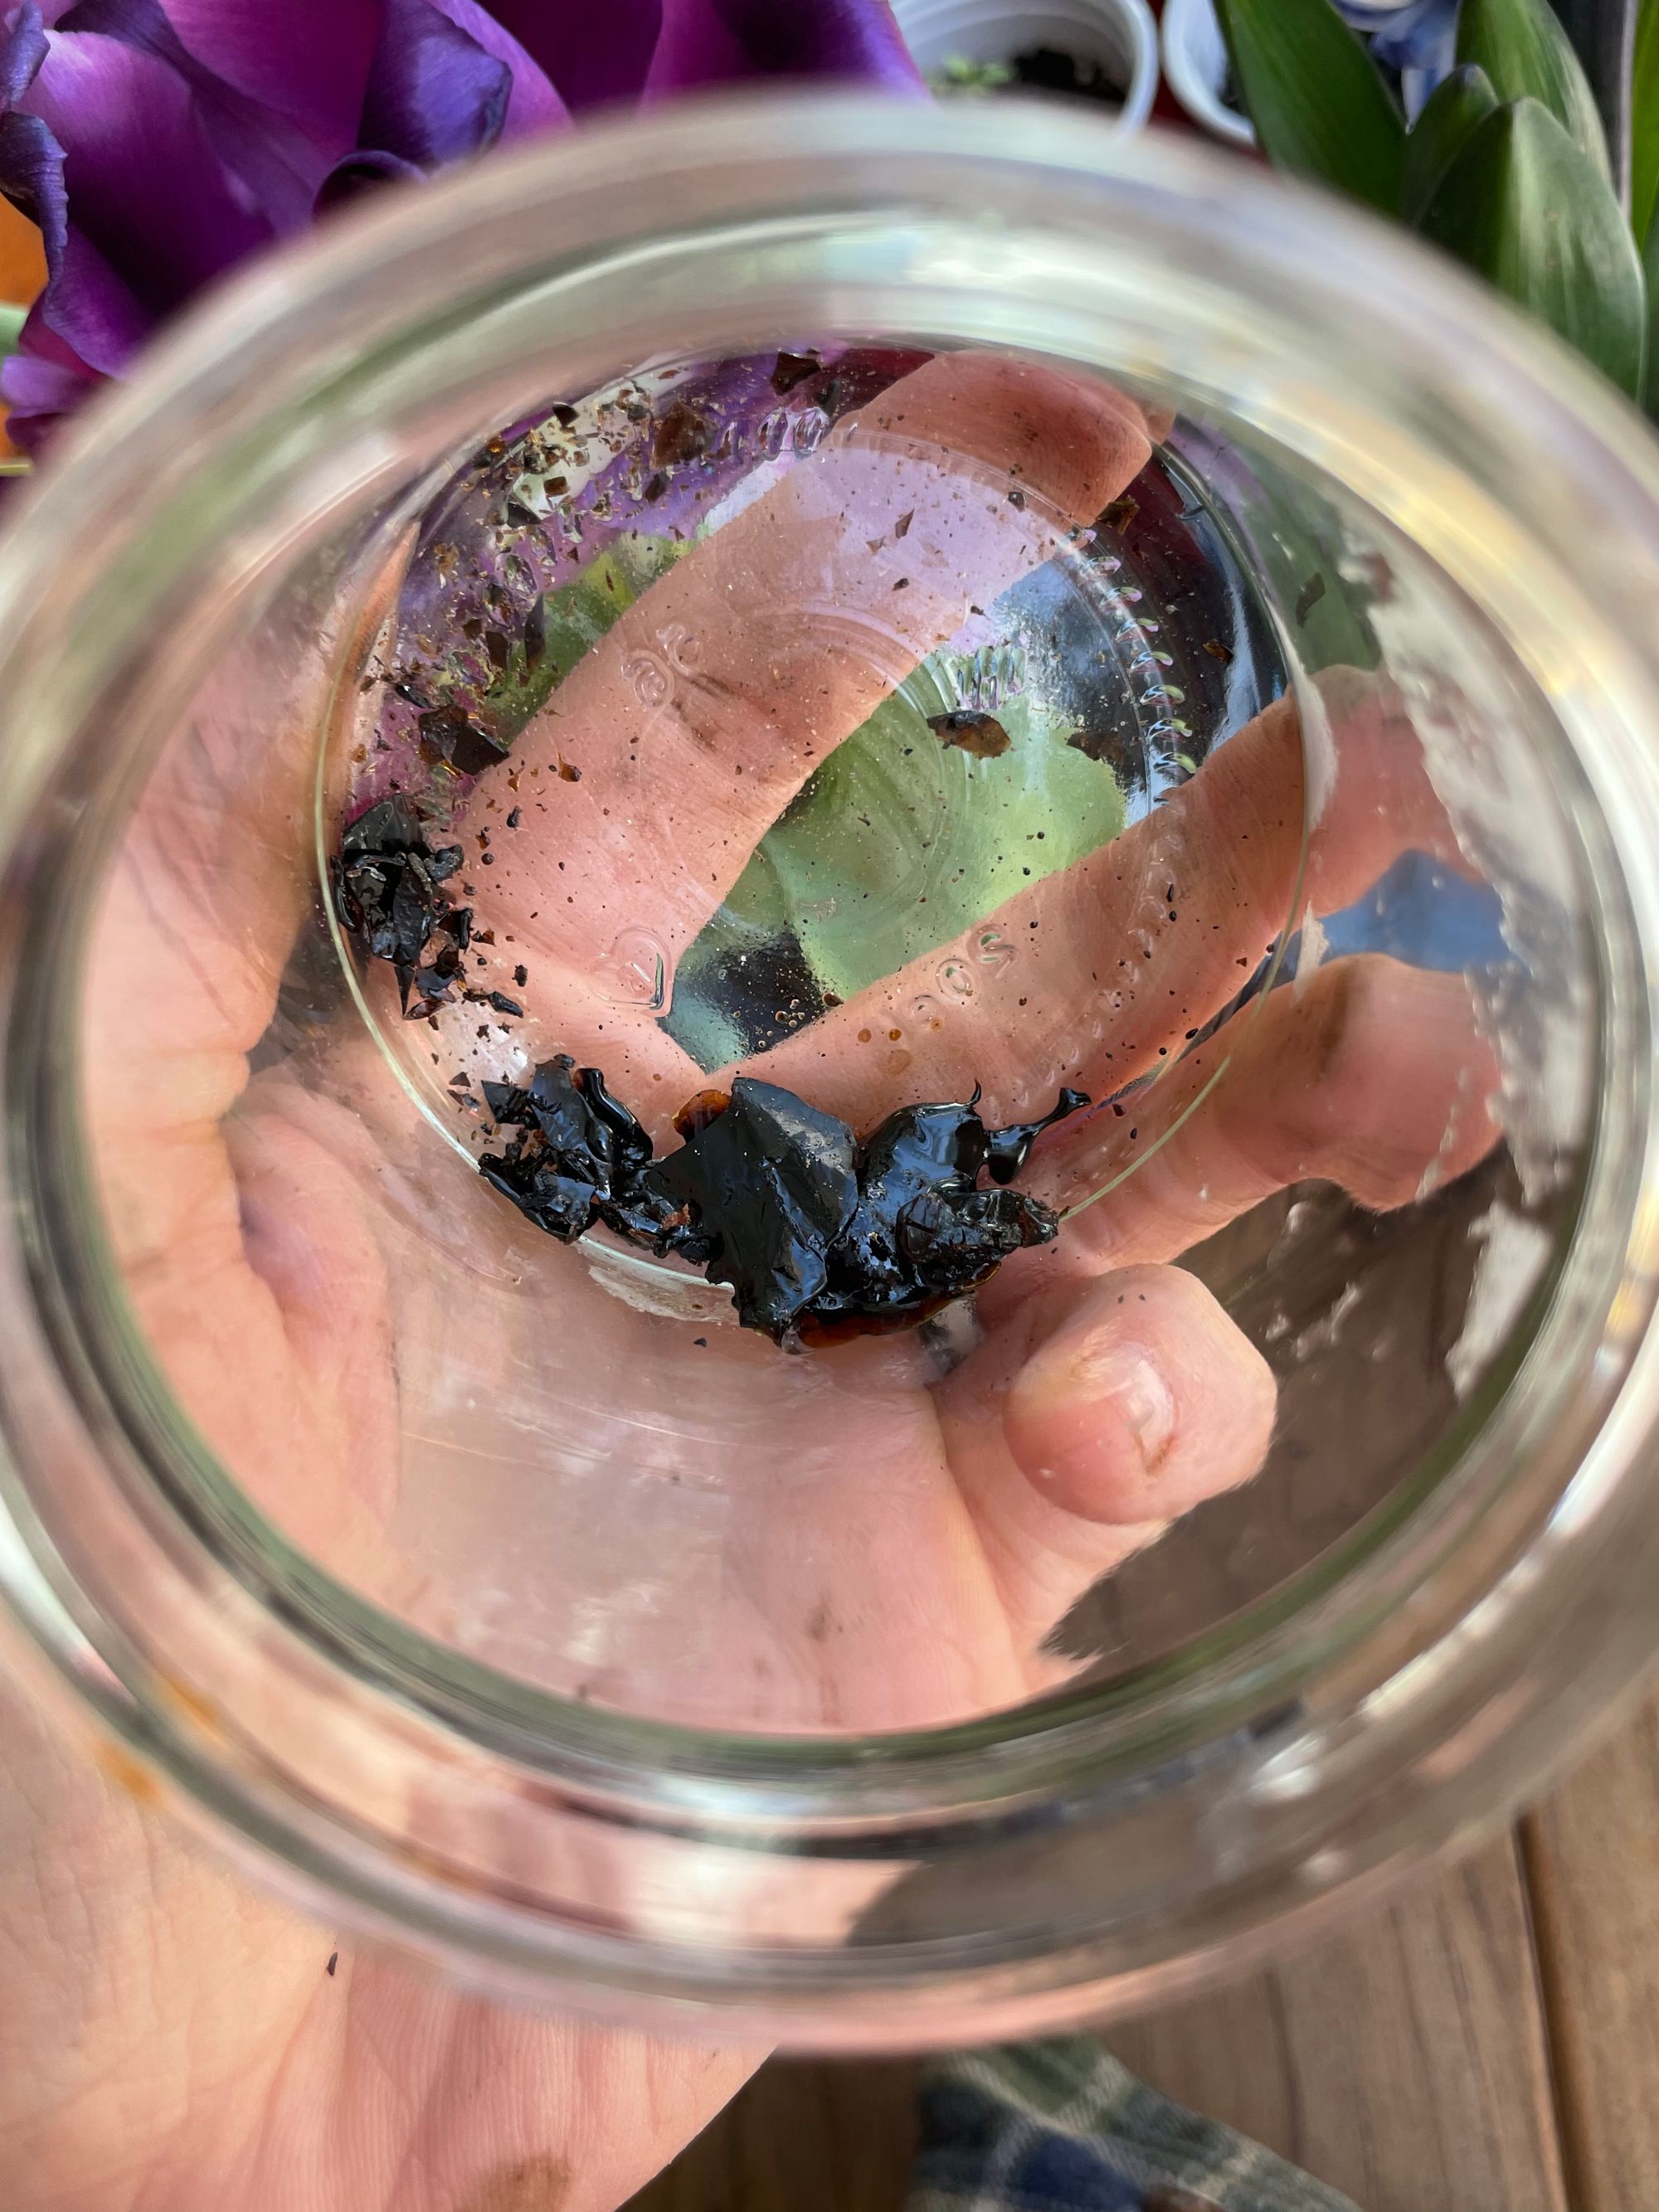
Place your hardened resin in a heatproof glass that you can use in a double boiler.
Making the Wrap
You will need-
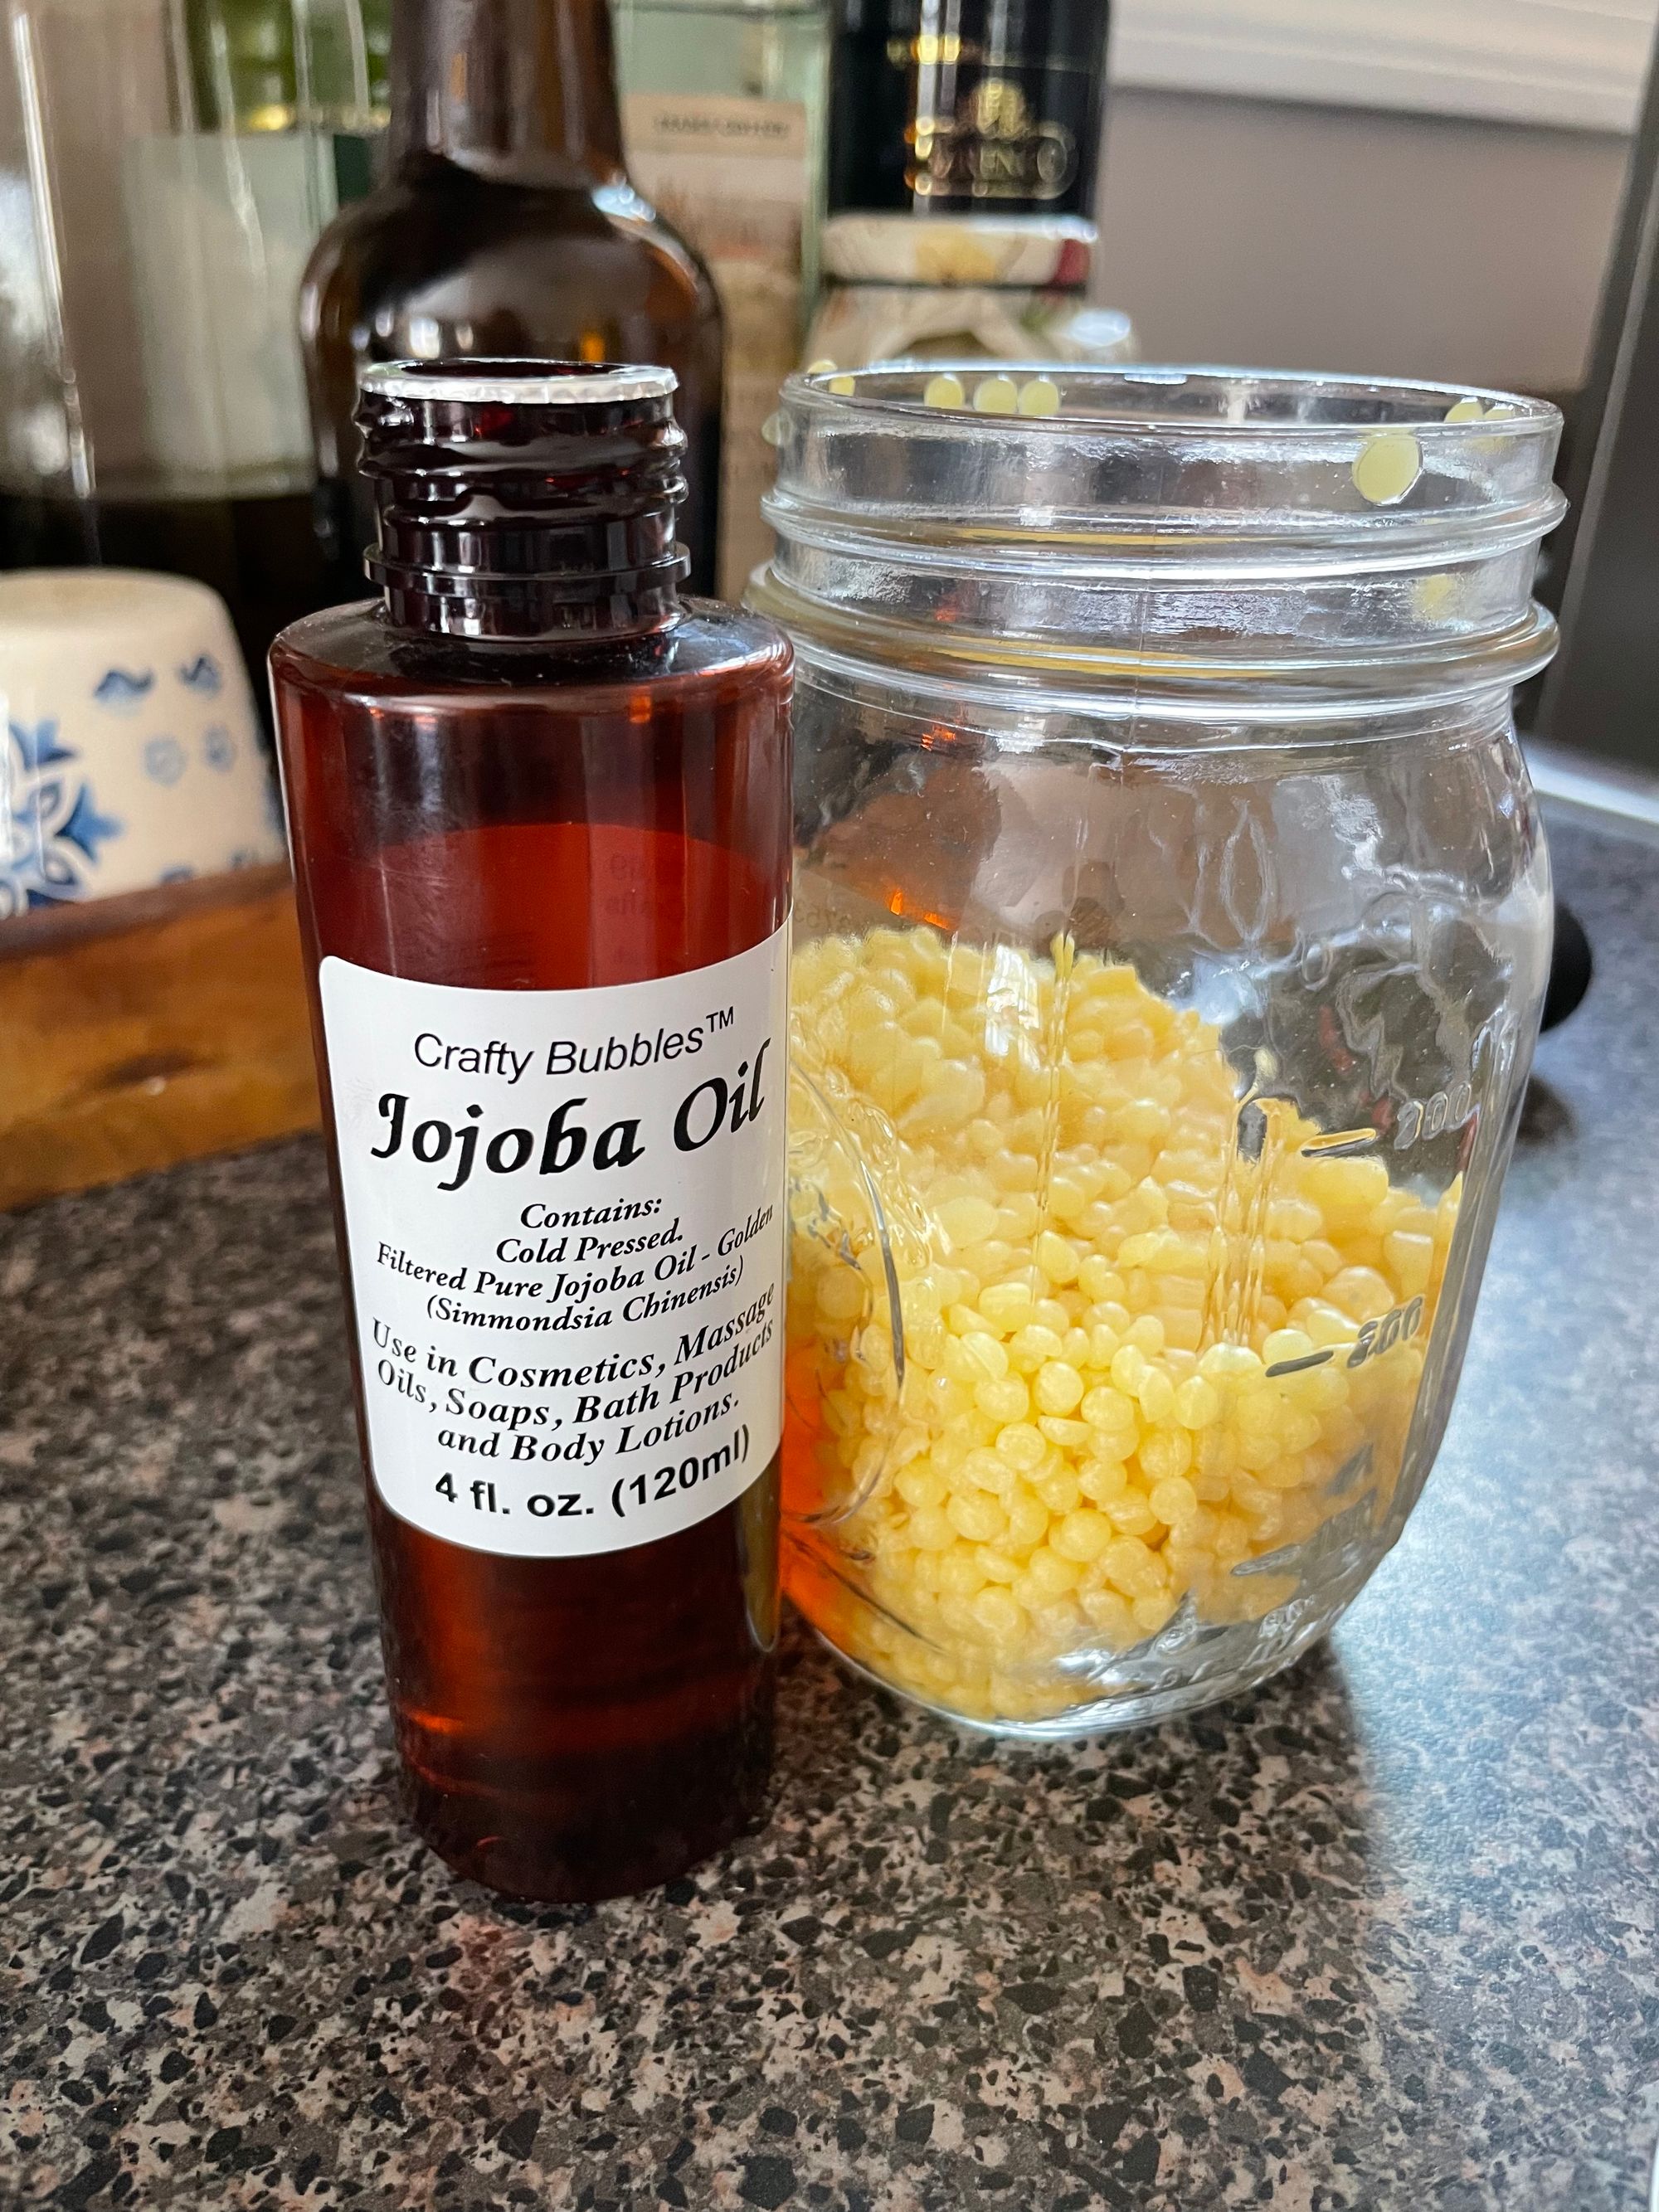
- Bee's Wax Pellets
- Hardened Resin
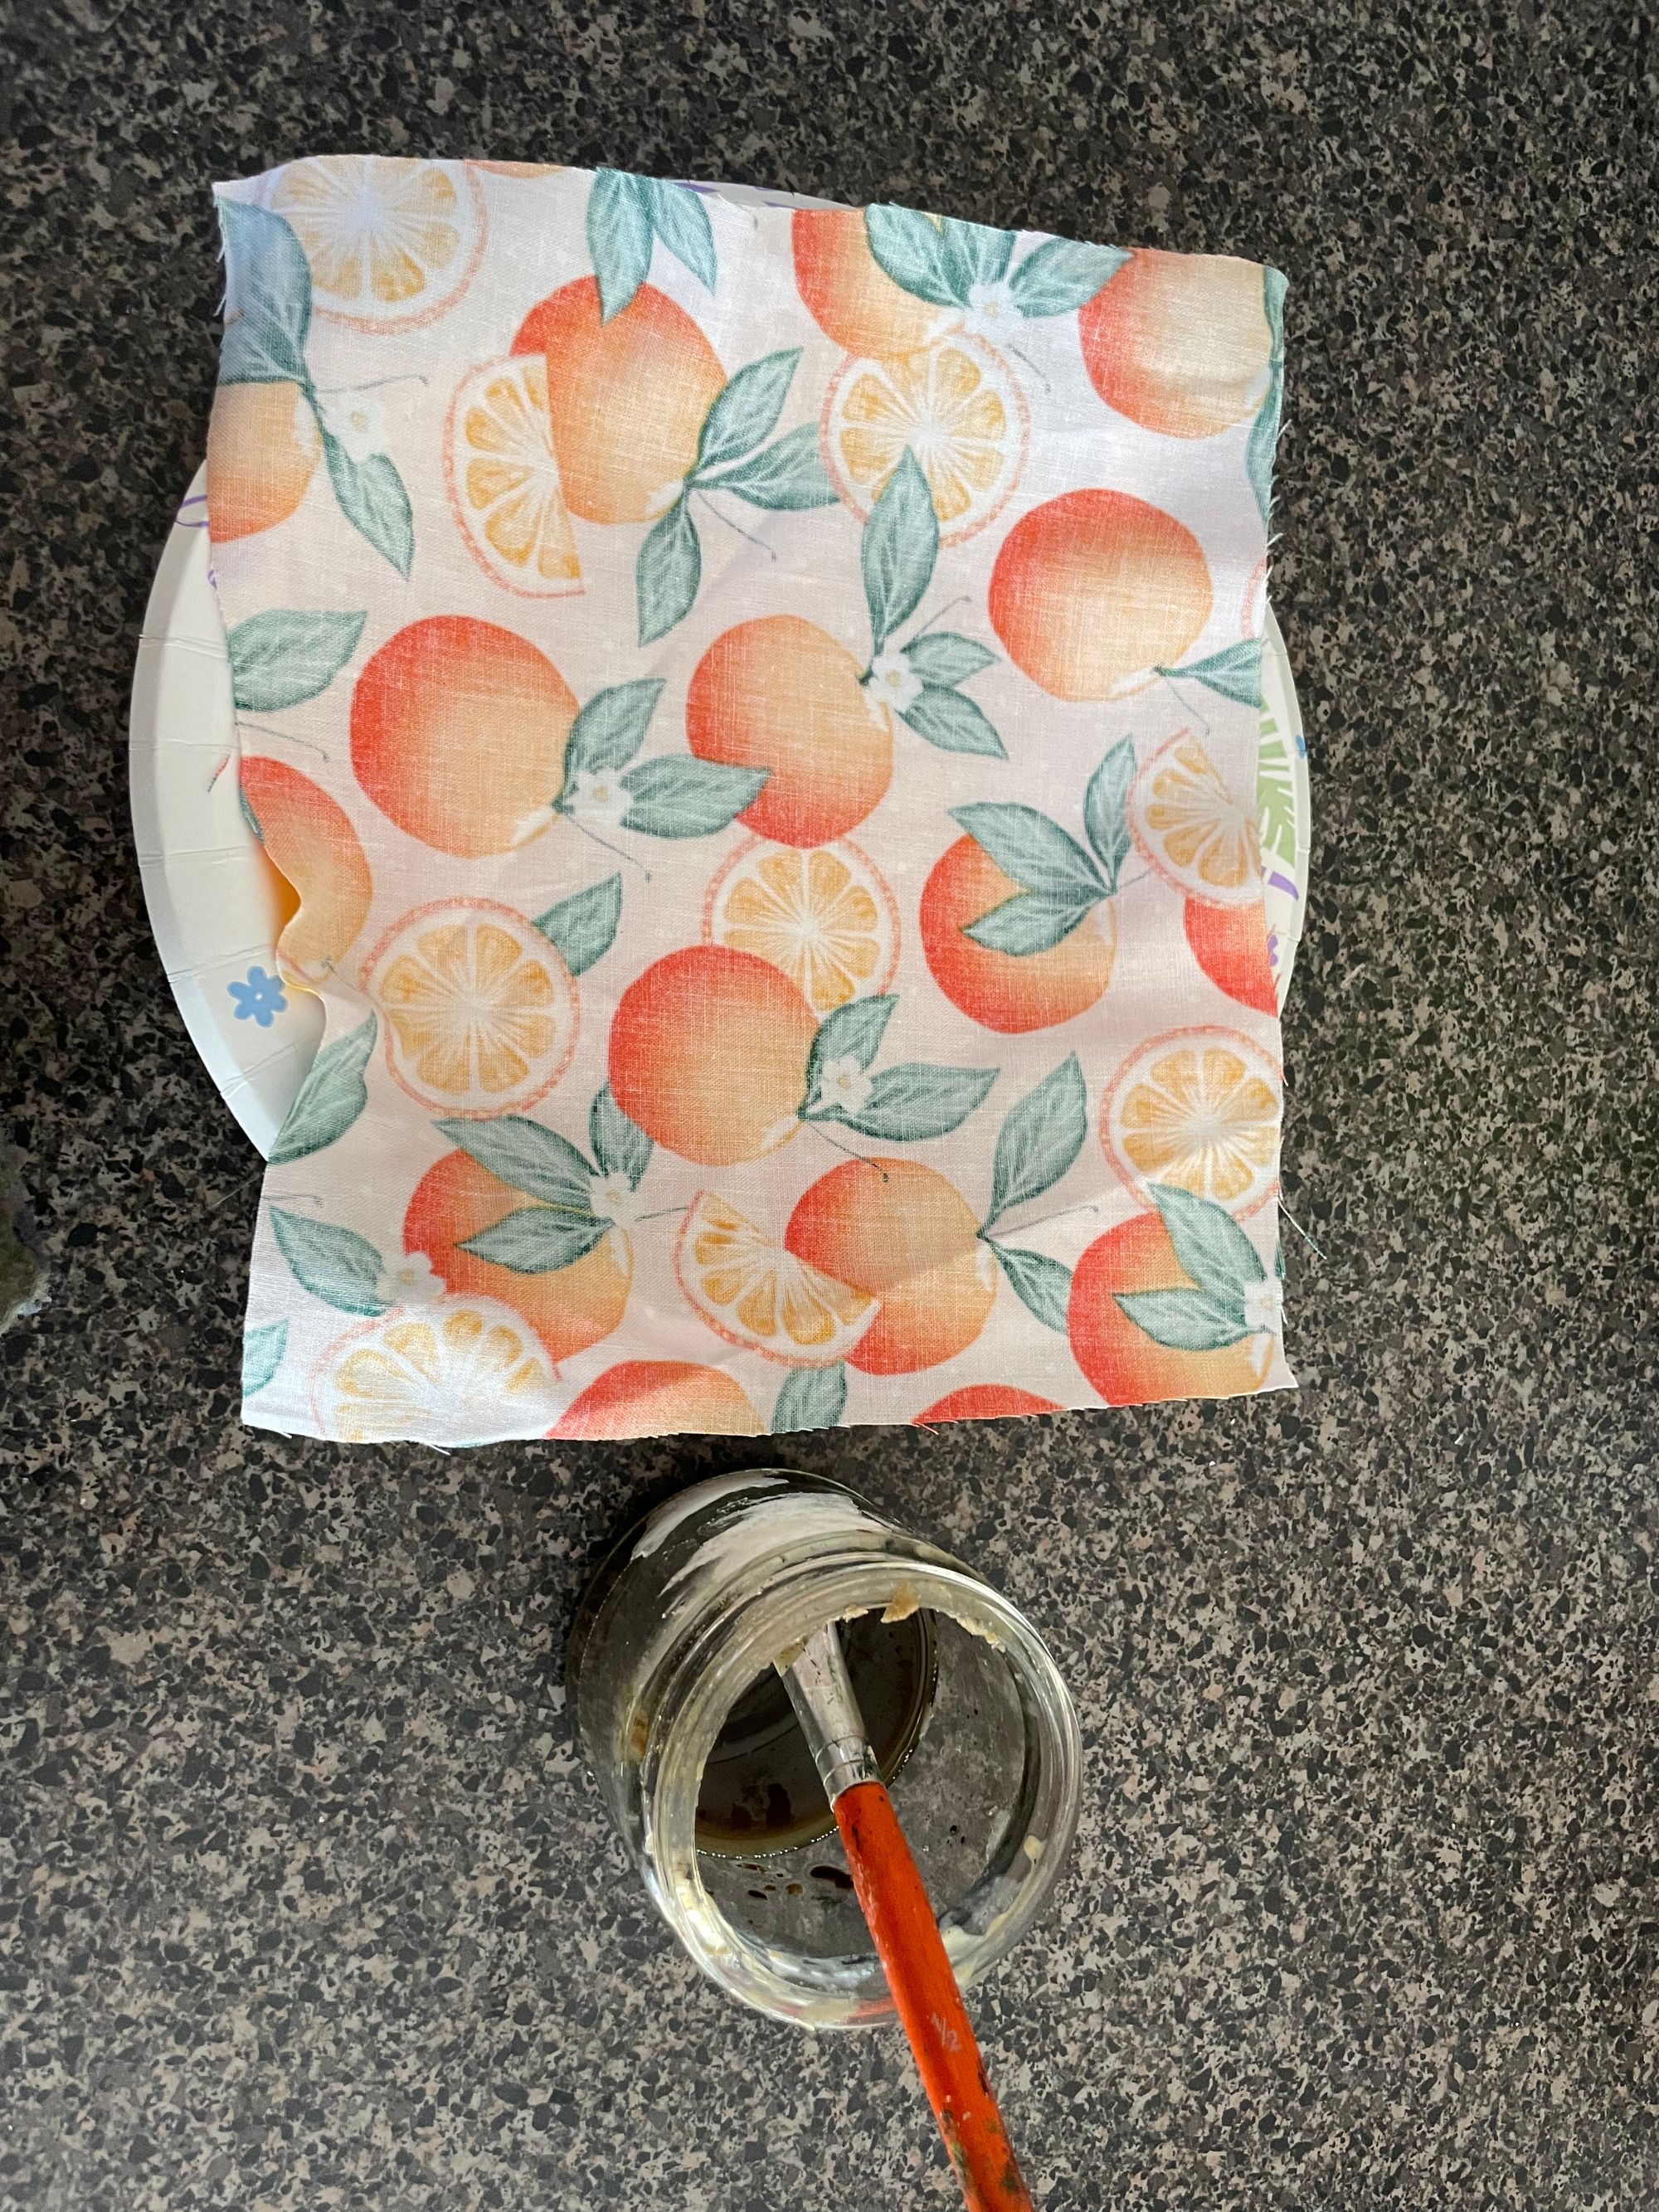
- Jojoba Oil
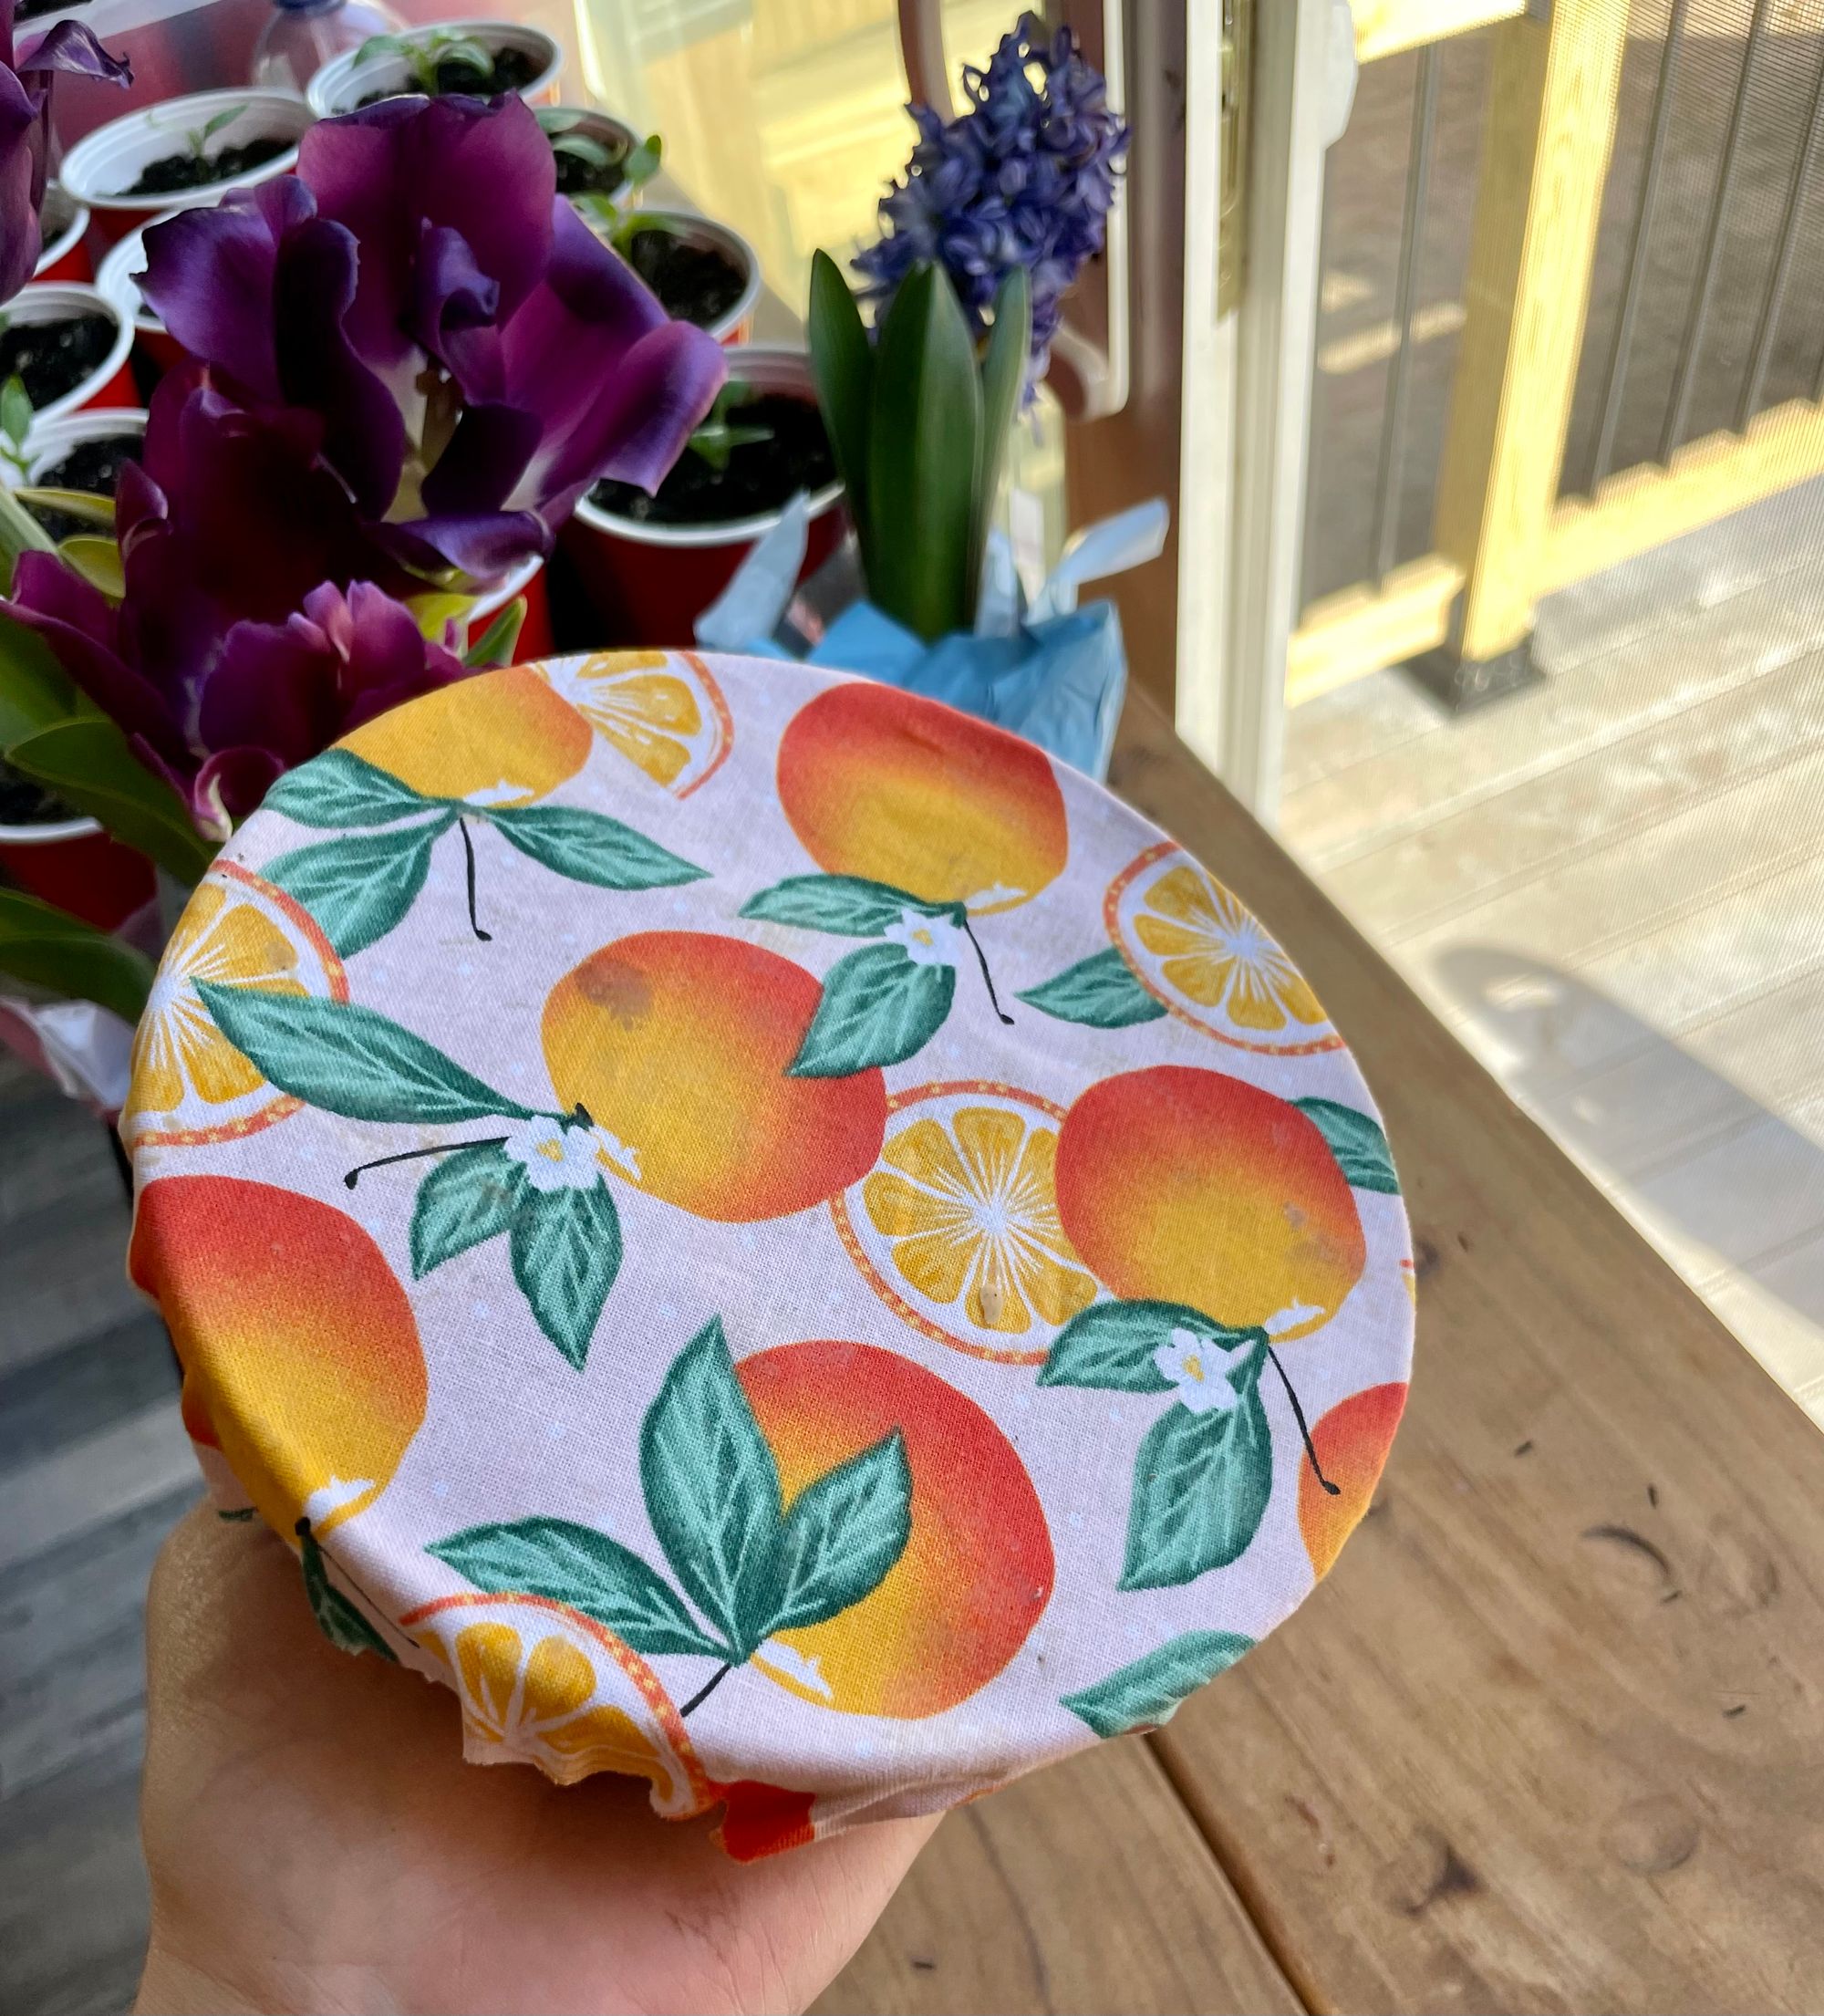
- Cotton Fabric
- Paint Brush
- Parchment Paper
When you have your hardened resin in a heat proof glass, start a pot with some boiling water. Add your bee's wax pellets and jojoba oil to the heatproof glass with your resin. I use 1 part resin, 1 part Jojoba and 3 part wax pellets. Melt them all until they are well combined. While that is melting, cut your fabric to the size squares you would like and pre-heat your over to 200 degrees.
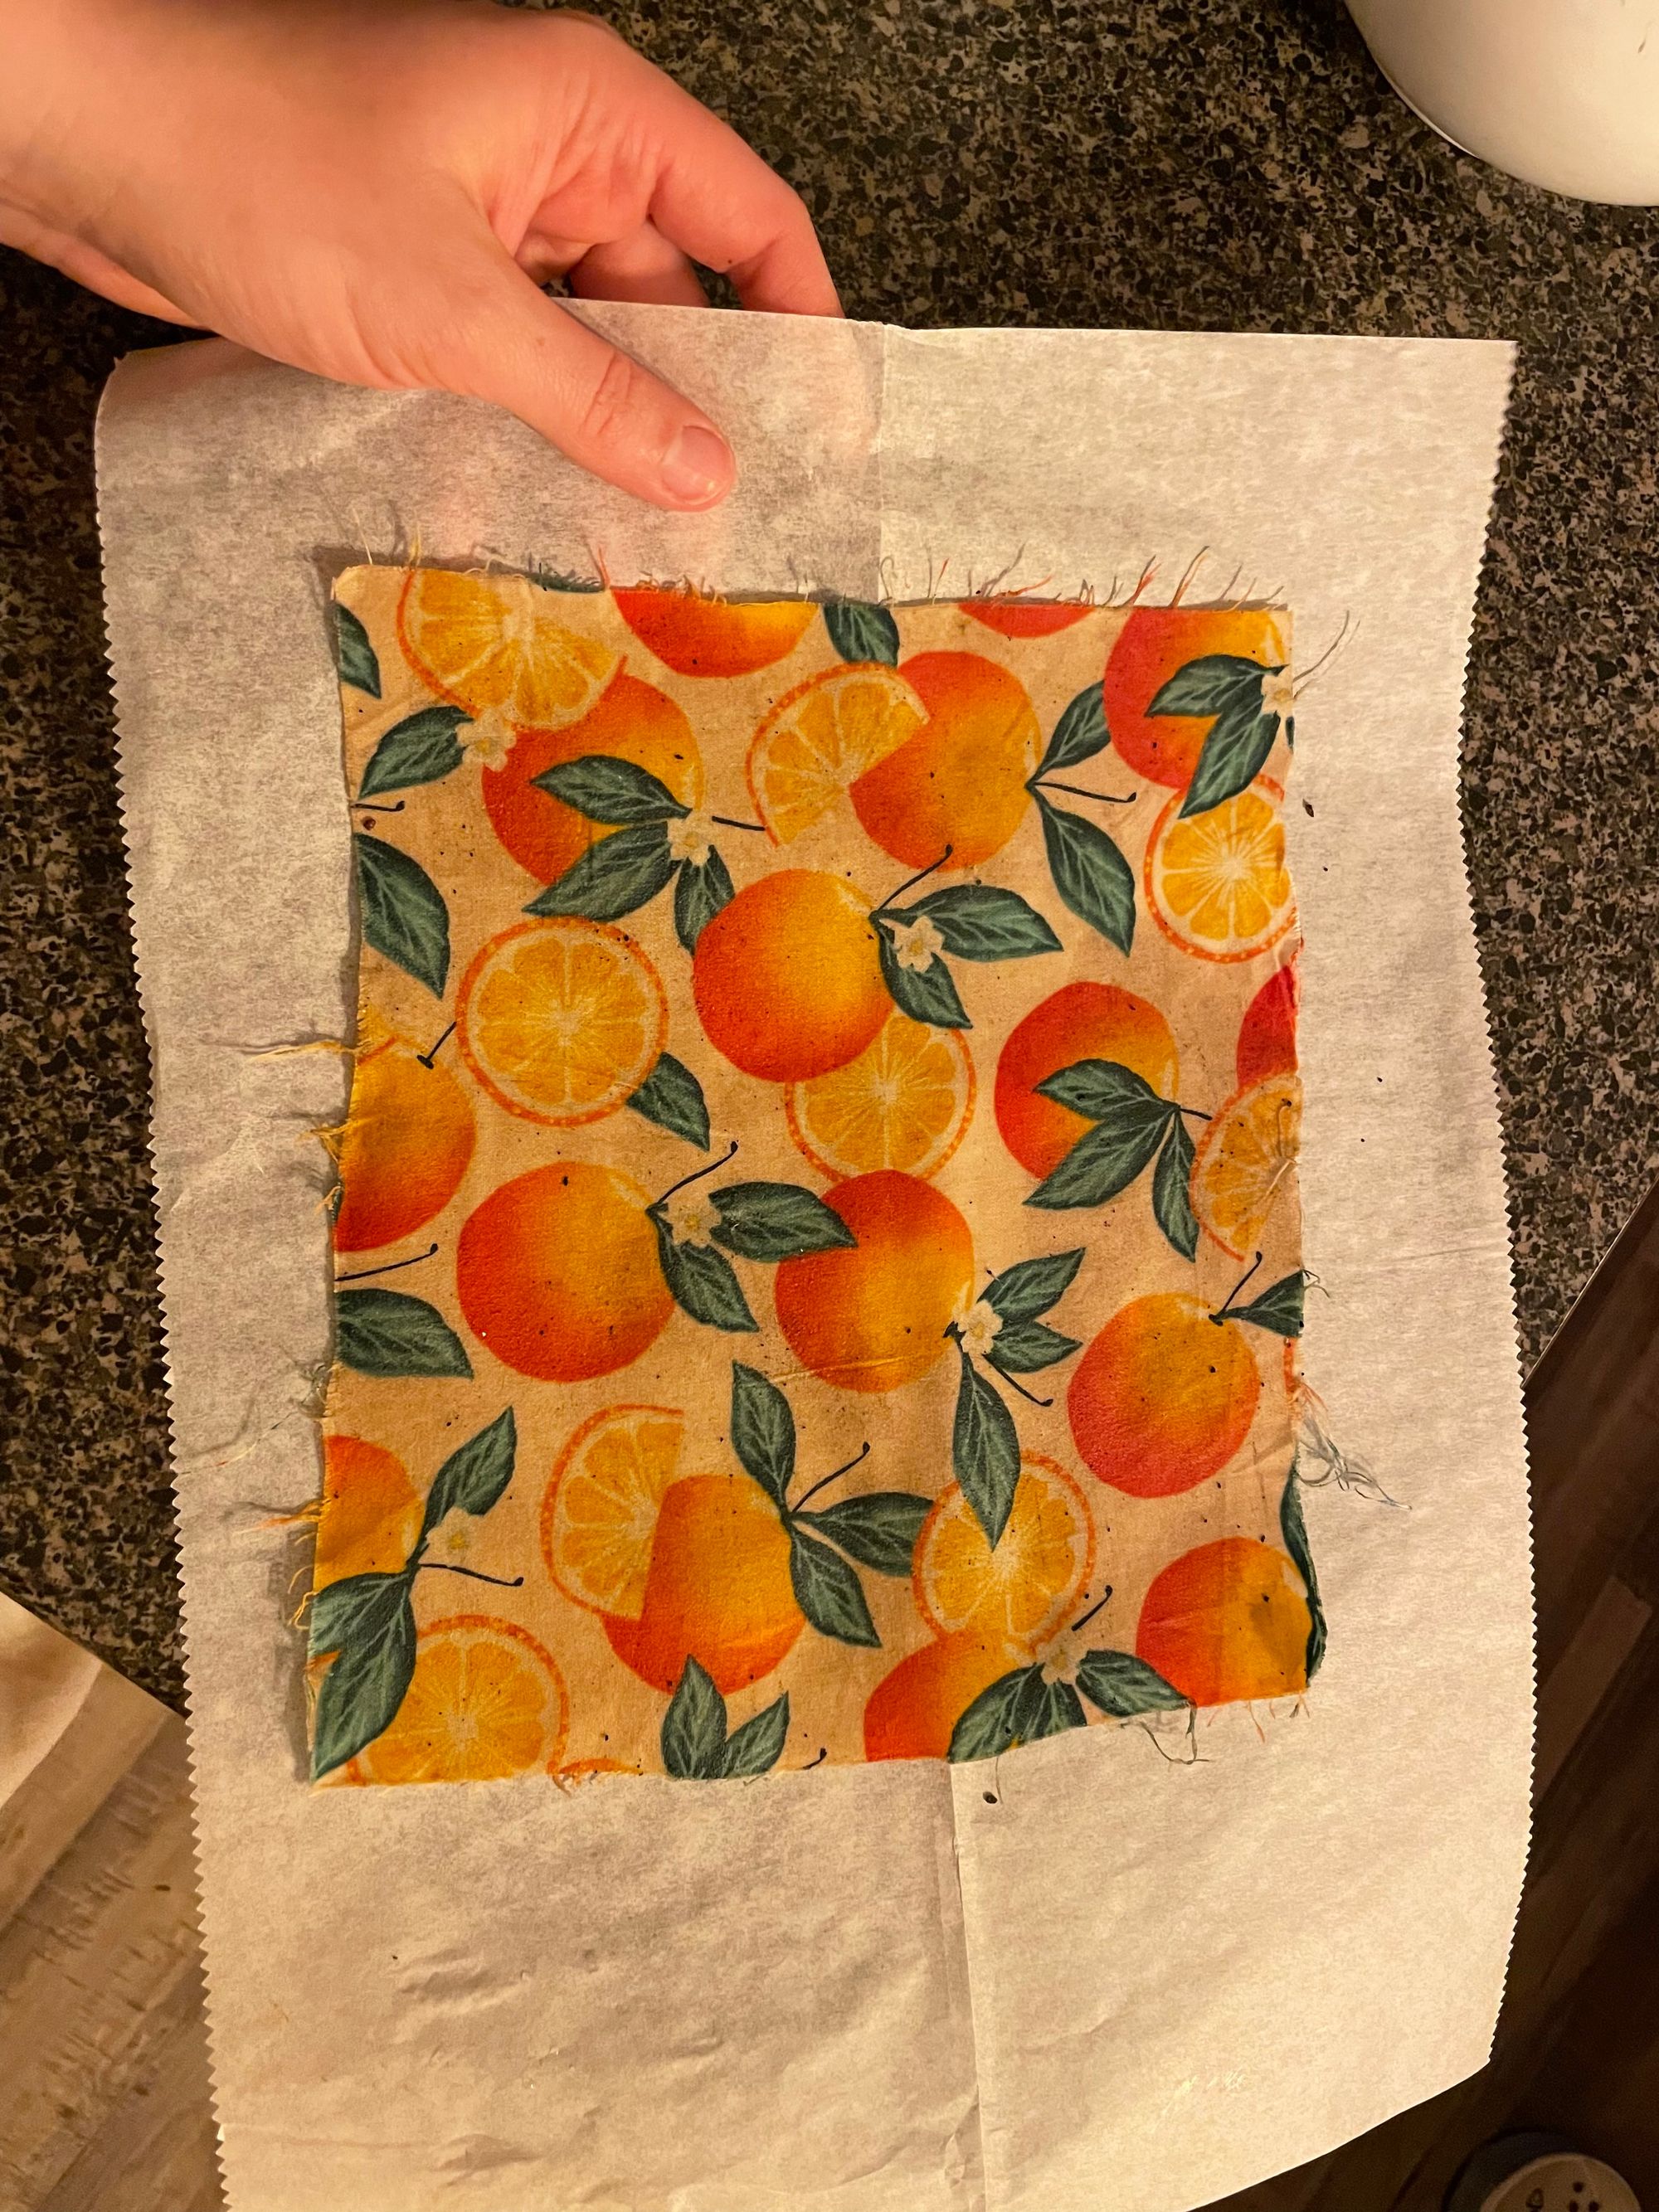
After it is adequately mixed, place one of your fabric squares on a baking sheet atop of some partchment paper. Get your paint brush and paint on the resin/wax mixture until your cotton fabric is covered. Bake in the oven on the partchment paper for 3 minutes or until it looks shiny and fully saturated on the fabric.
Take out of oven and let cool.
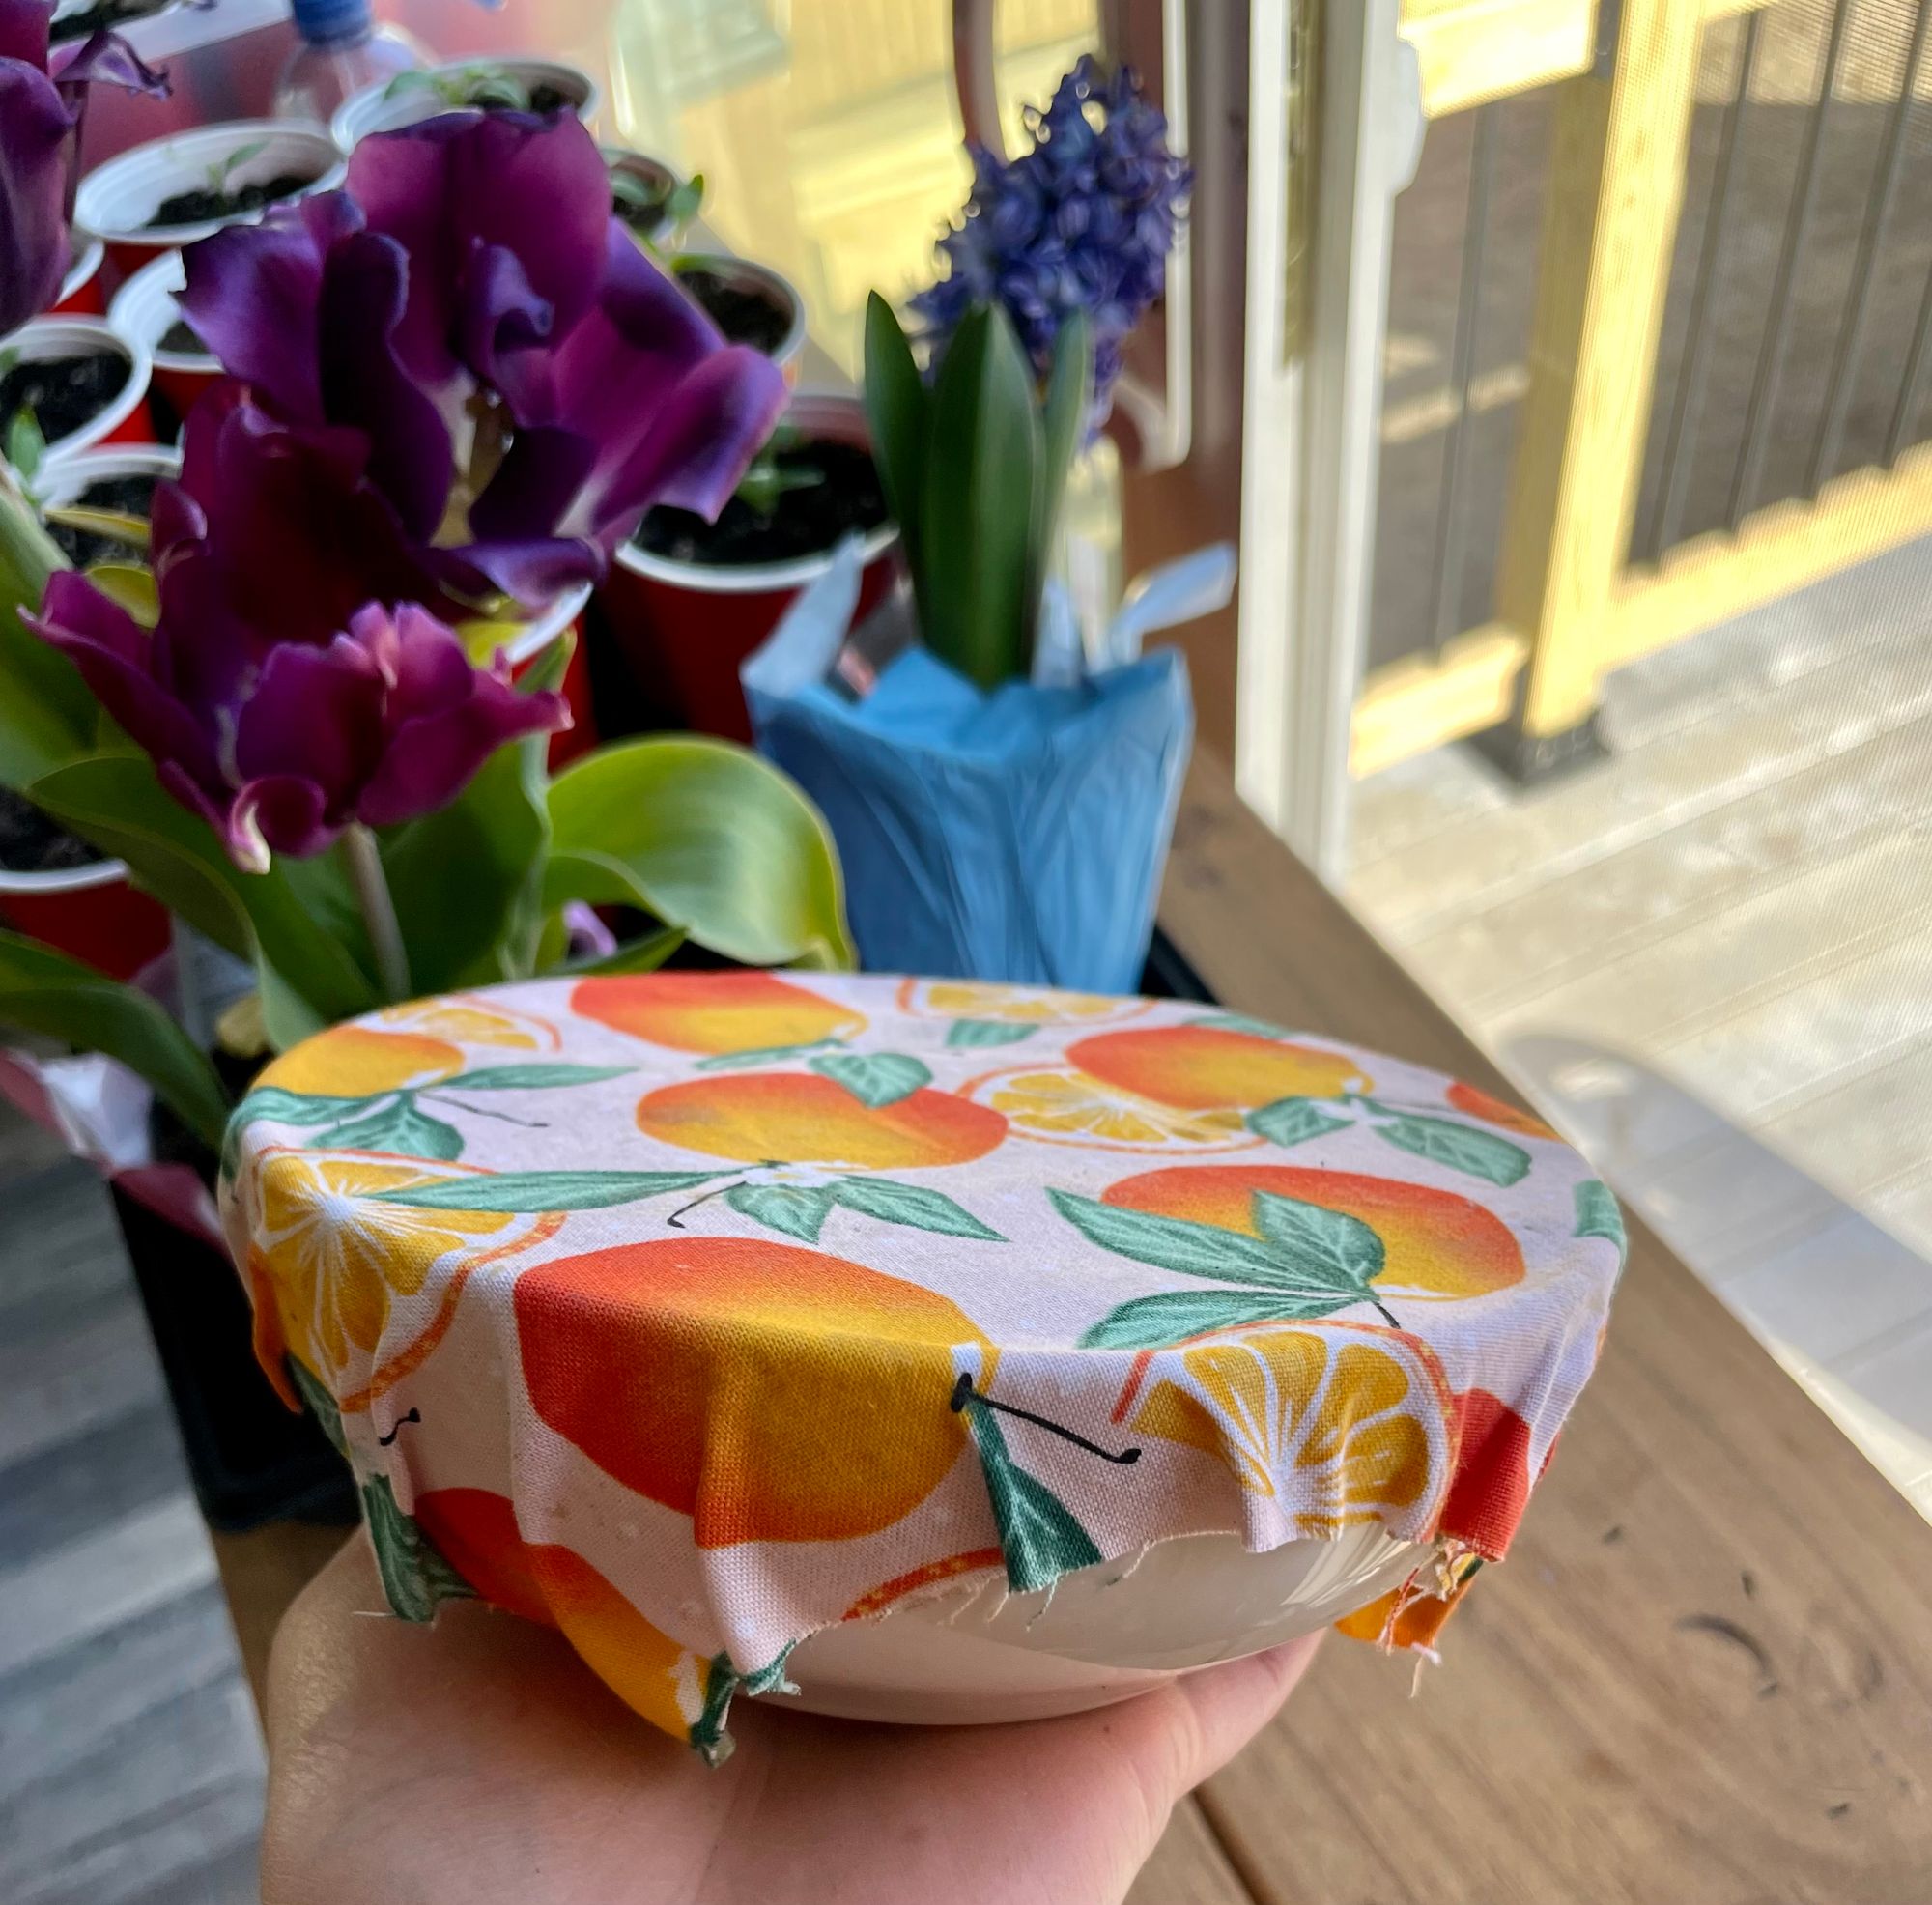
There you have it! An eco-friendly and healthier alternative to plasic food storage! To reuse and clean just use a damp cloth with cool water and wipe clean. Do not wash in washer or dishwasher as this will strip the needed oils.
Keep on seeking light,
Alyson